Roubo workbench
I’ve been meaning to build a legitimate Roubo workbench for a while now. Once COVID-19 hit, I had a legitimate reason to stay inside and churn one out. I set out with a couple of goals:
- It shouldn’t move. I was gifted a Pegasus Worx work table which has been really great. However, it’s not an ideal table for hand work since it moves quite easily.
- It should have lots of clamping area. Another problem with the Pegasus Worx is that it’s not easy to clamp things onto it, since it’s underside has sort of a plastic webbing. I wanted to make sure my next workbench had ample area to clamp things down.
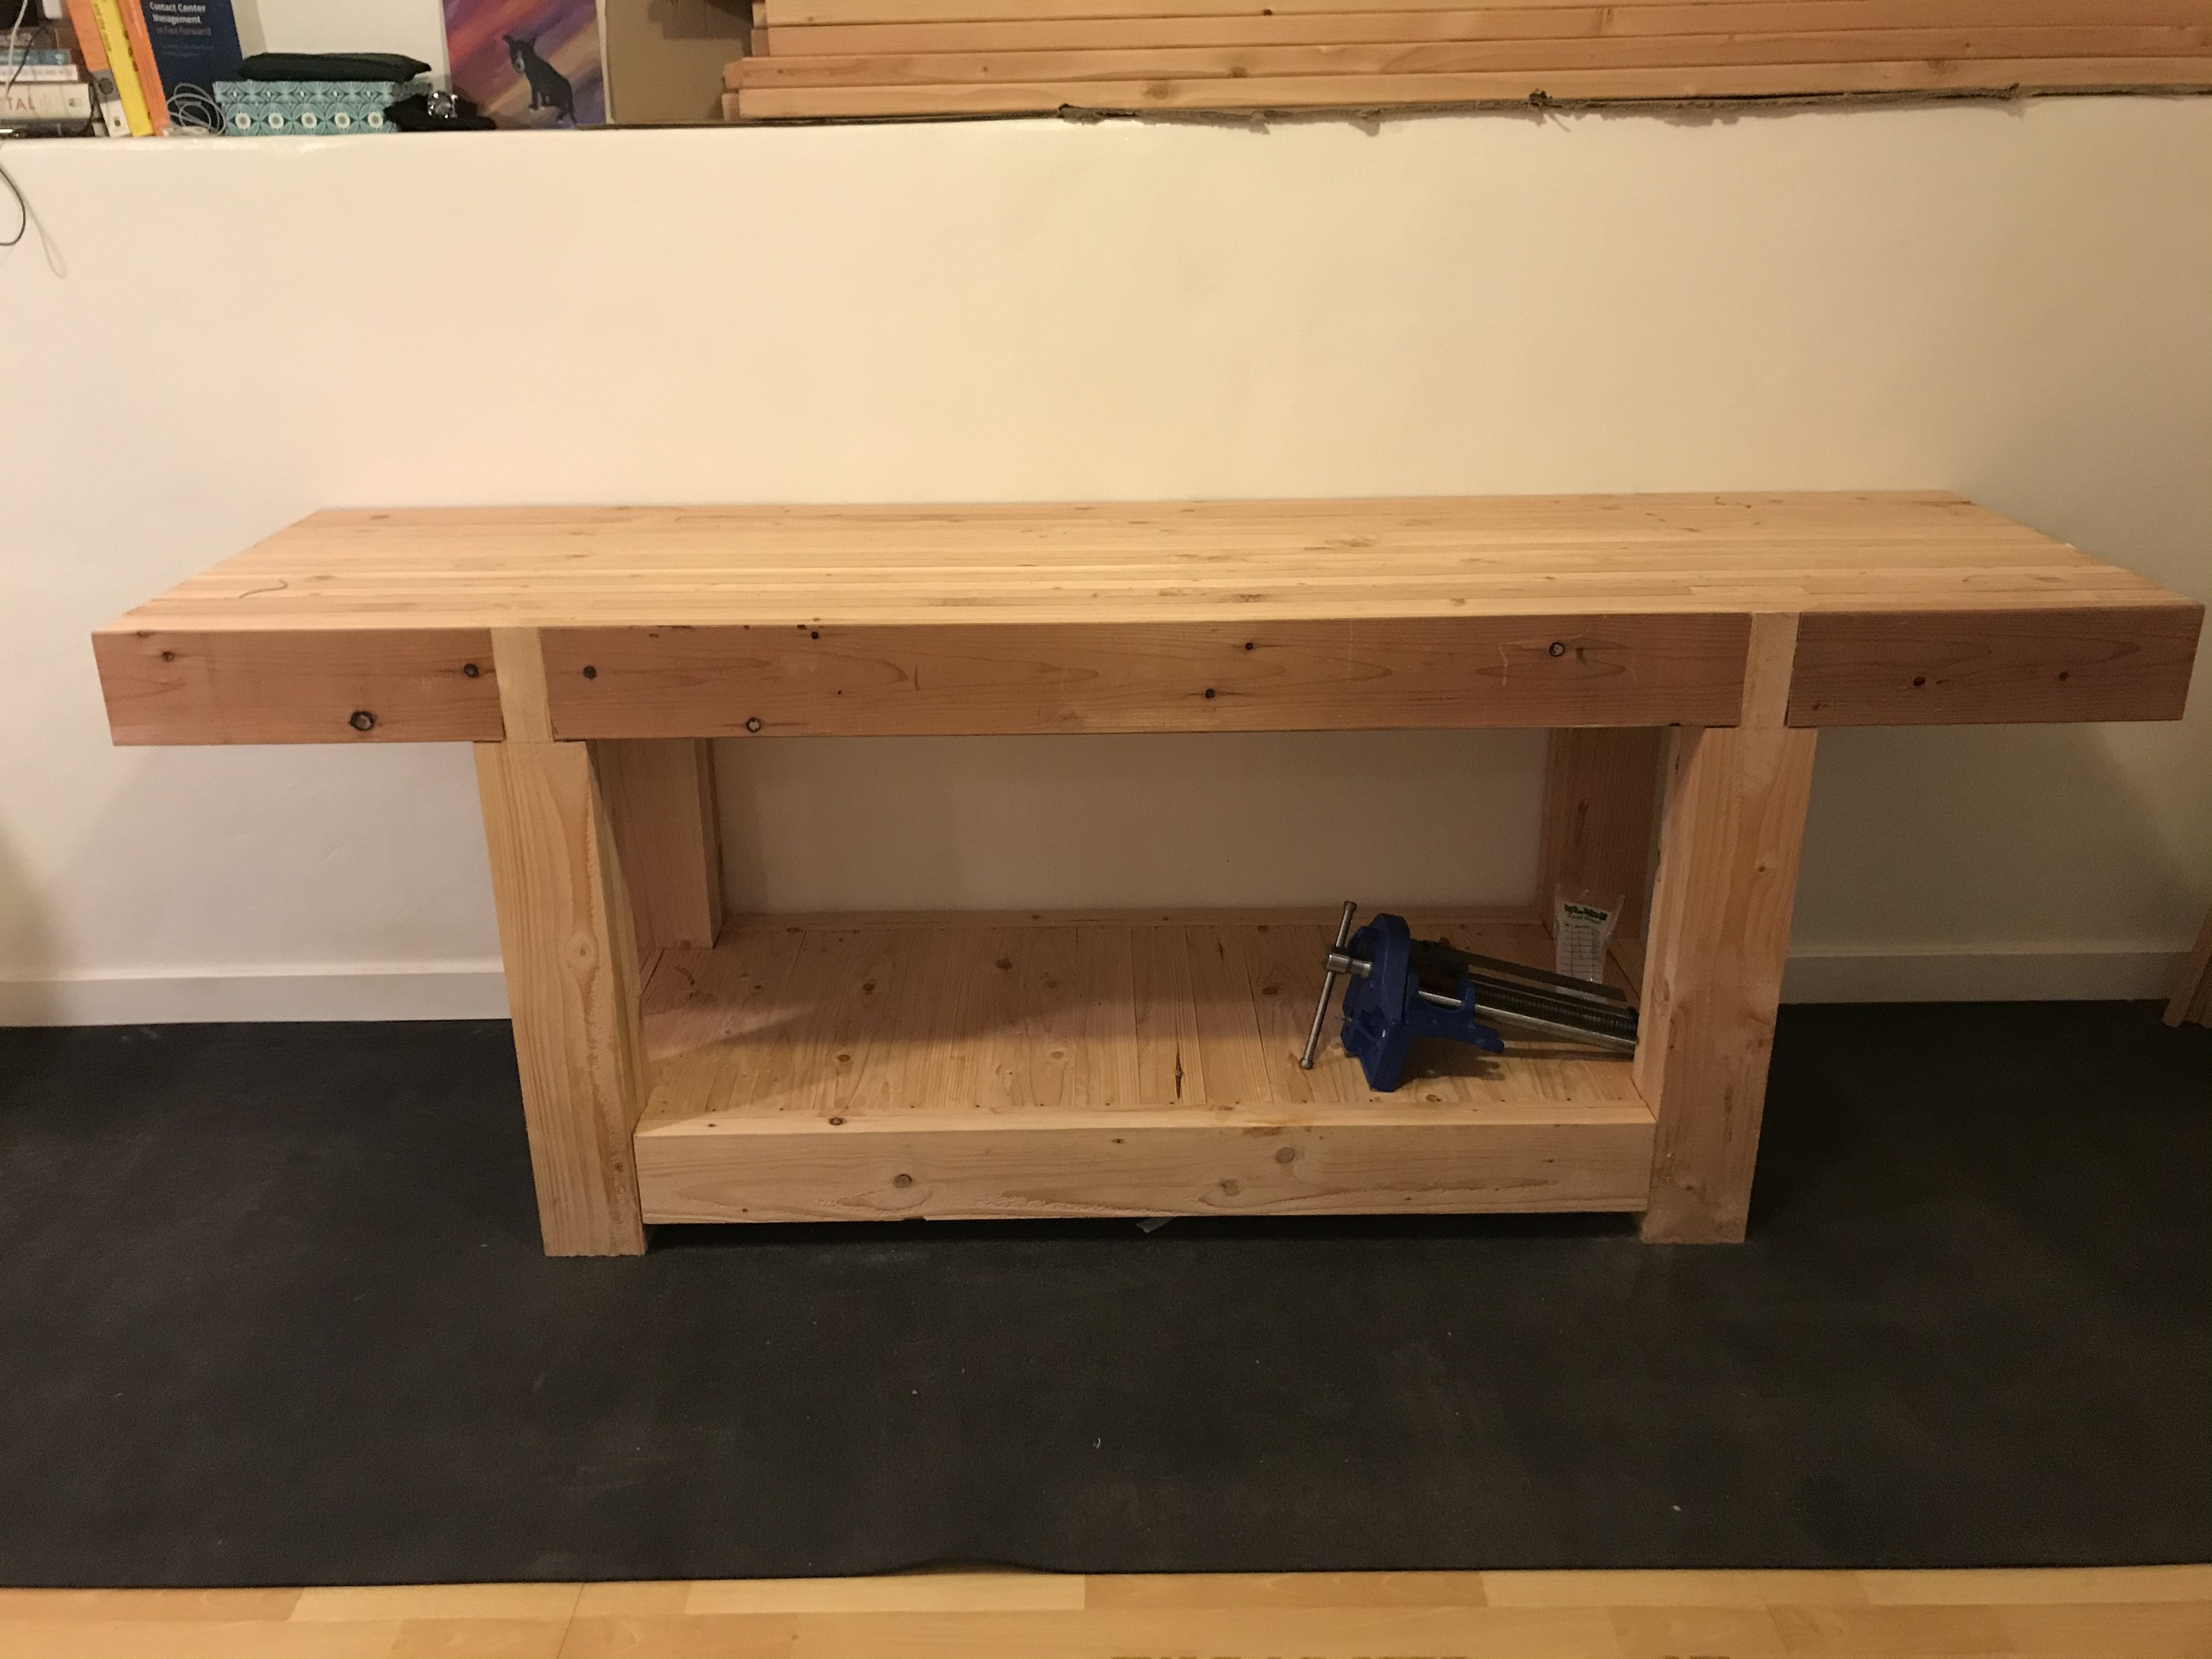
- It should have a vise. Vises are really important for good work (and for safety), so this was a must.
I also thought about a lot of other features that I wanted: lots of storage area, work holding for both long boards and short boards, easy face planing. However, the three requirements above were my main constraints (other than price).
For lumber, I decided to use douglas fir 2x6s from Lowes, as well as a couple of redwood 2x6s to accent the outsides of the bench. Given that I live in the city and move around quite frequently, I didn’t want to spend a ton of money on a bench that I have a 50/50 chance of only using for a couple of years.
Dimensions
I really wanted a large workbench and was willing to take up my living room for this thing. There’s something fun and majestic about a large workbench. I also thought it was fitting to portion a large part of my apartment to the bench given that woodworking will likely be my main hobby going forward.
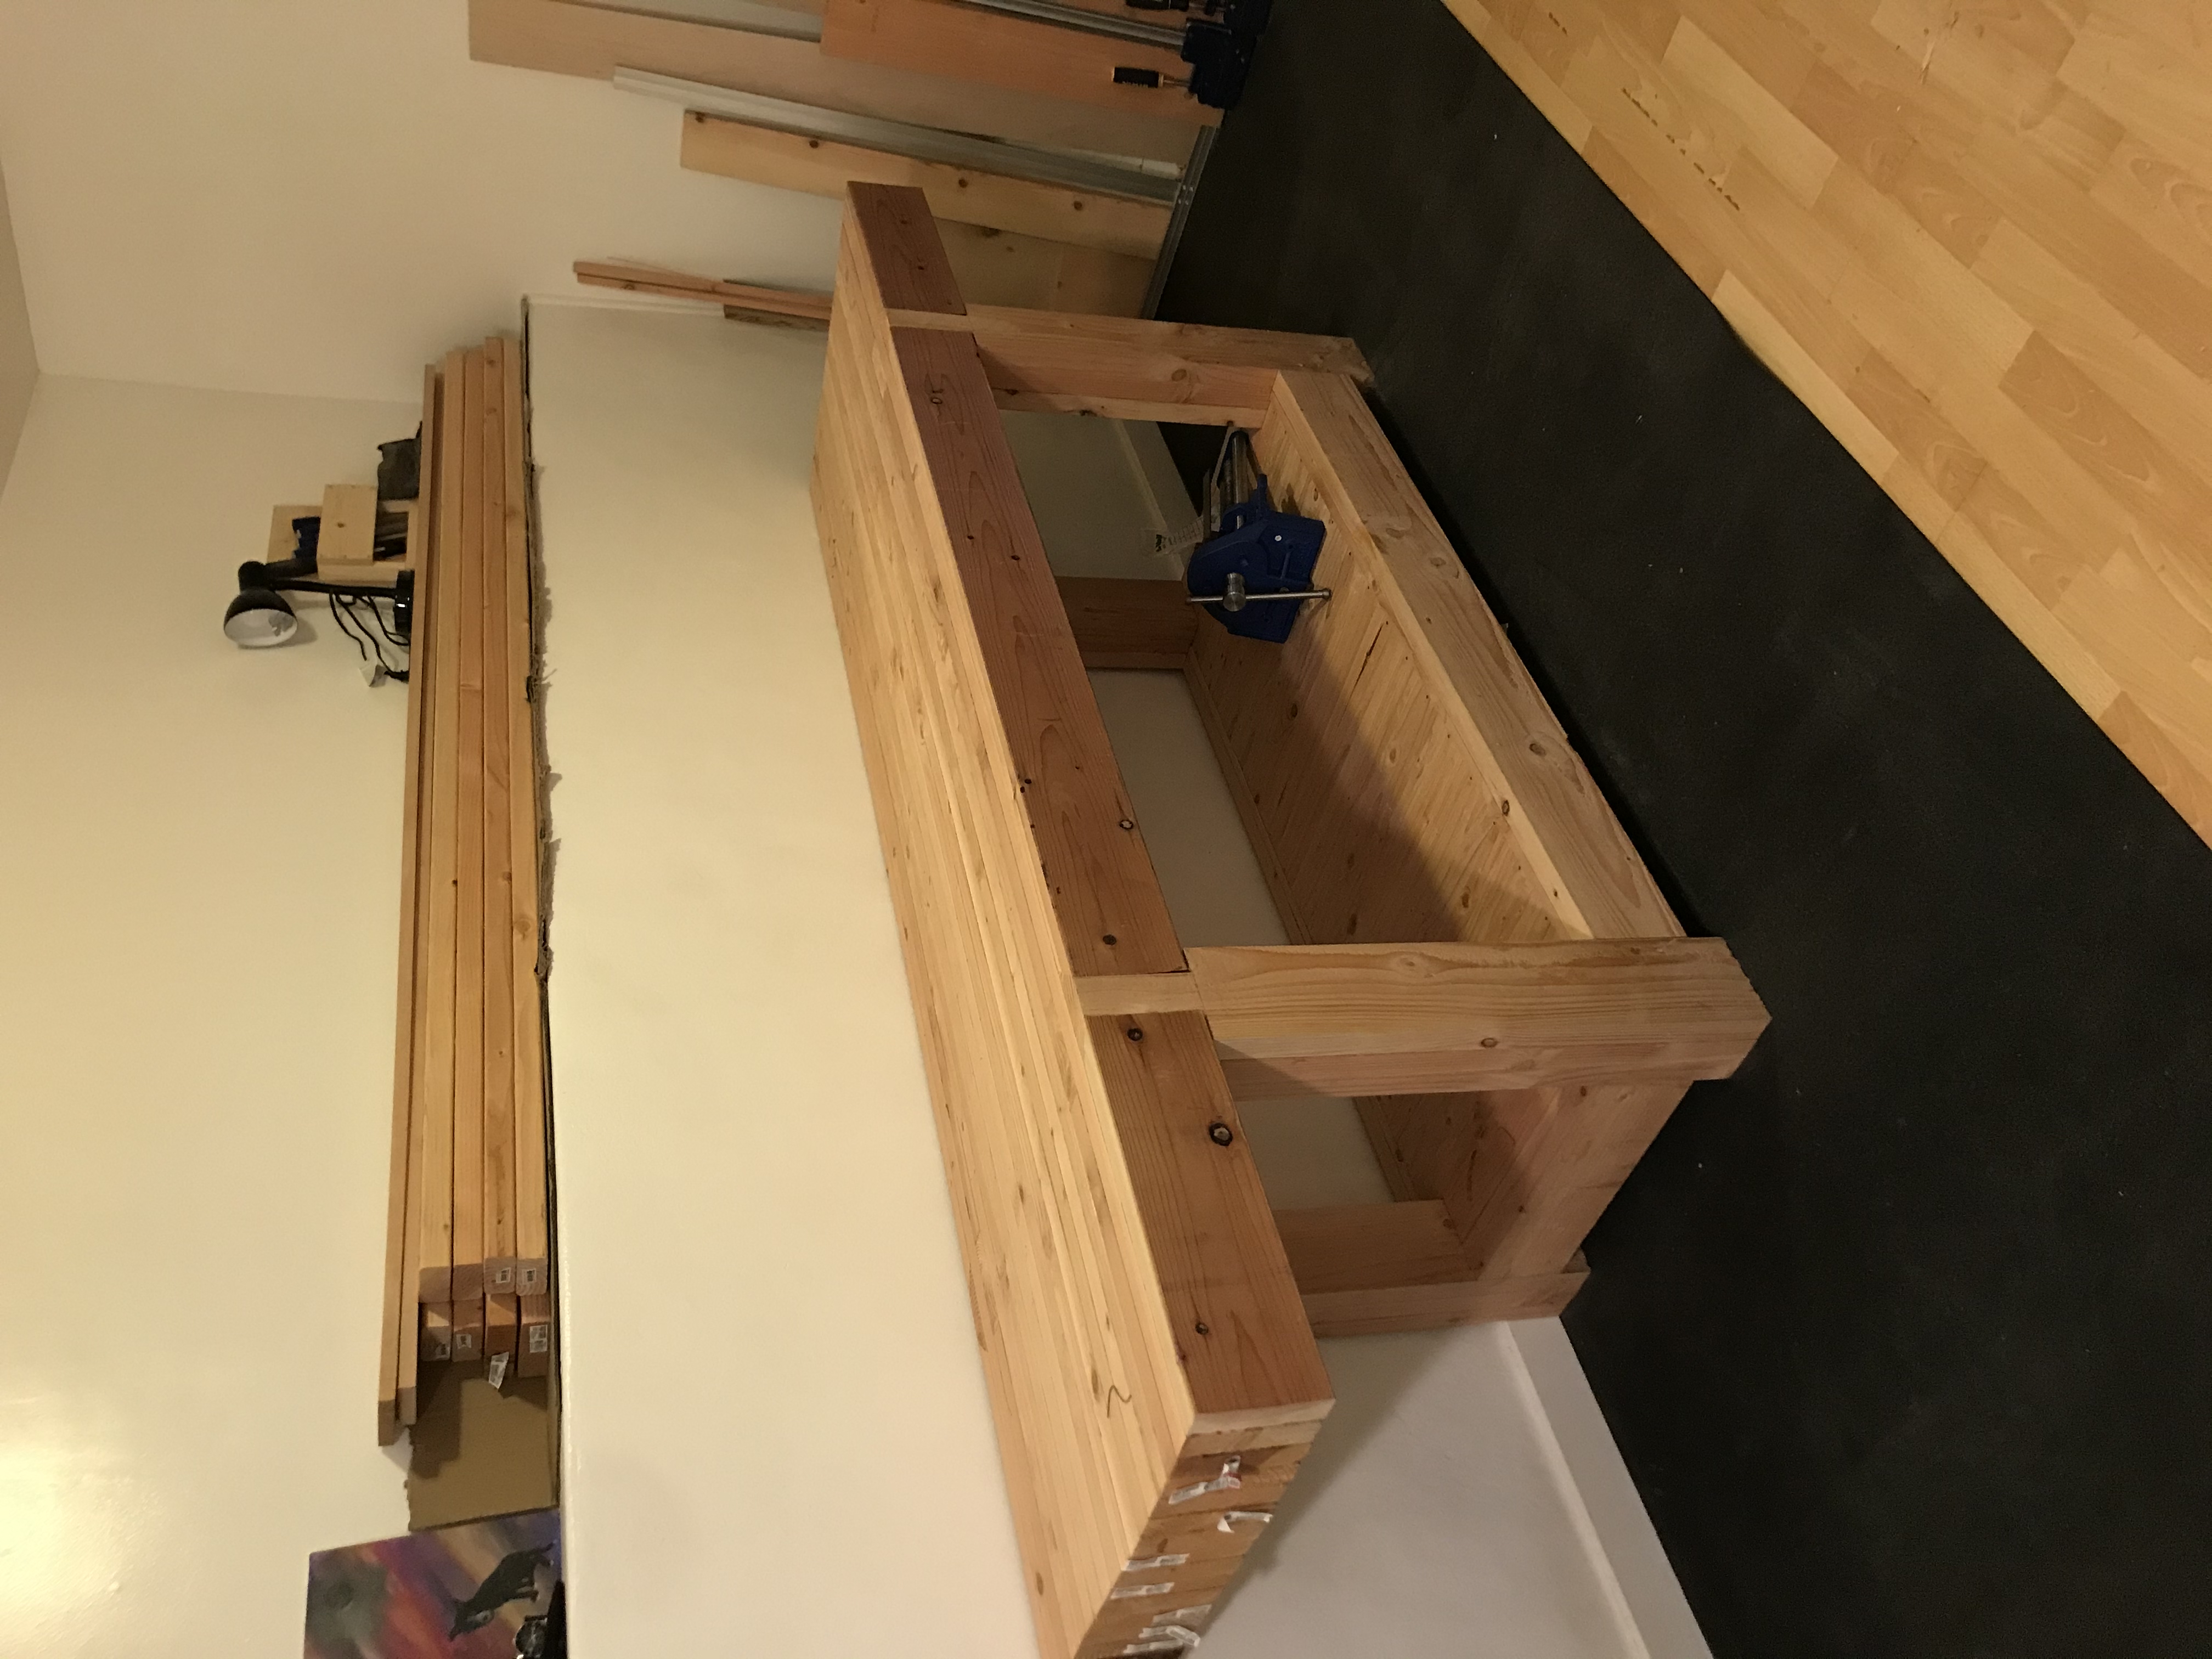
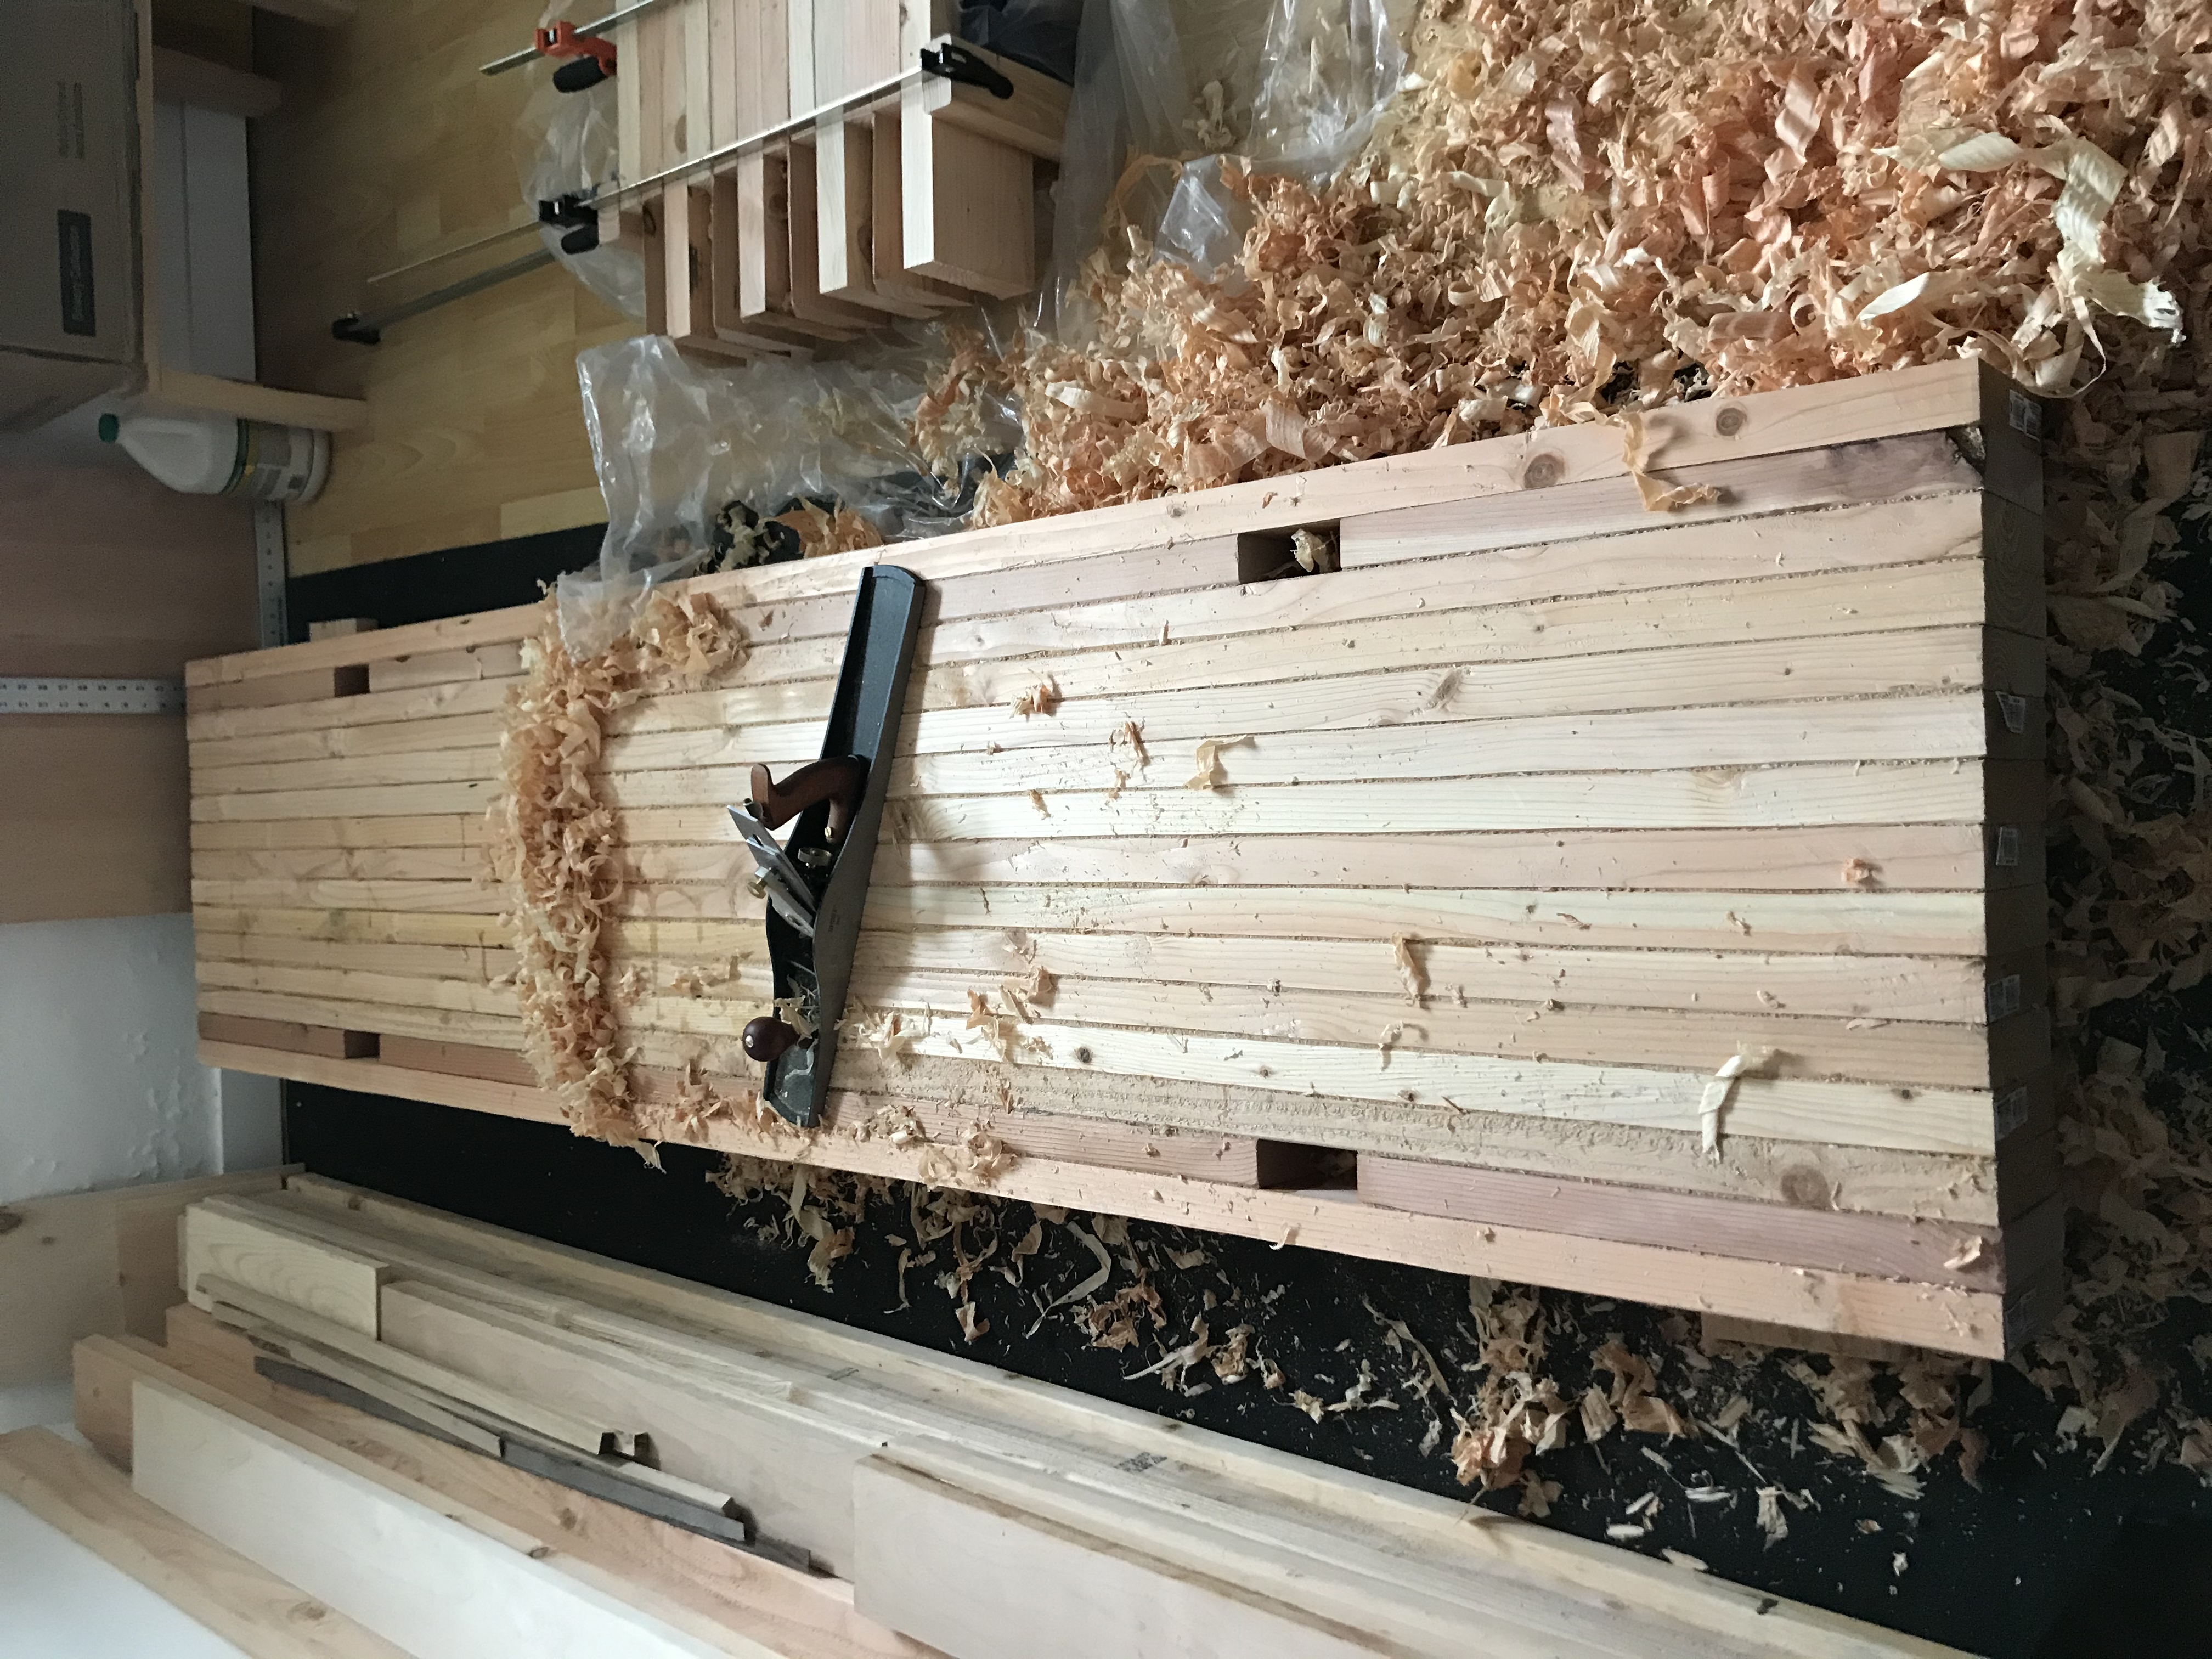
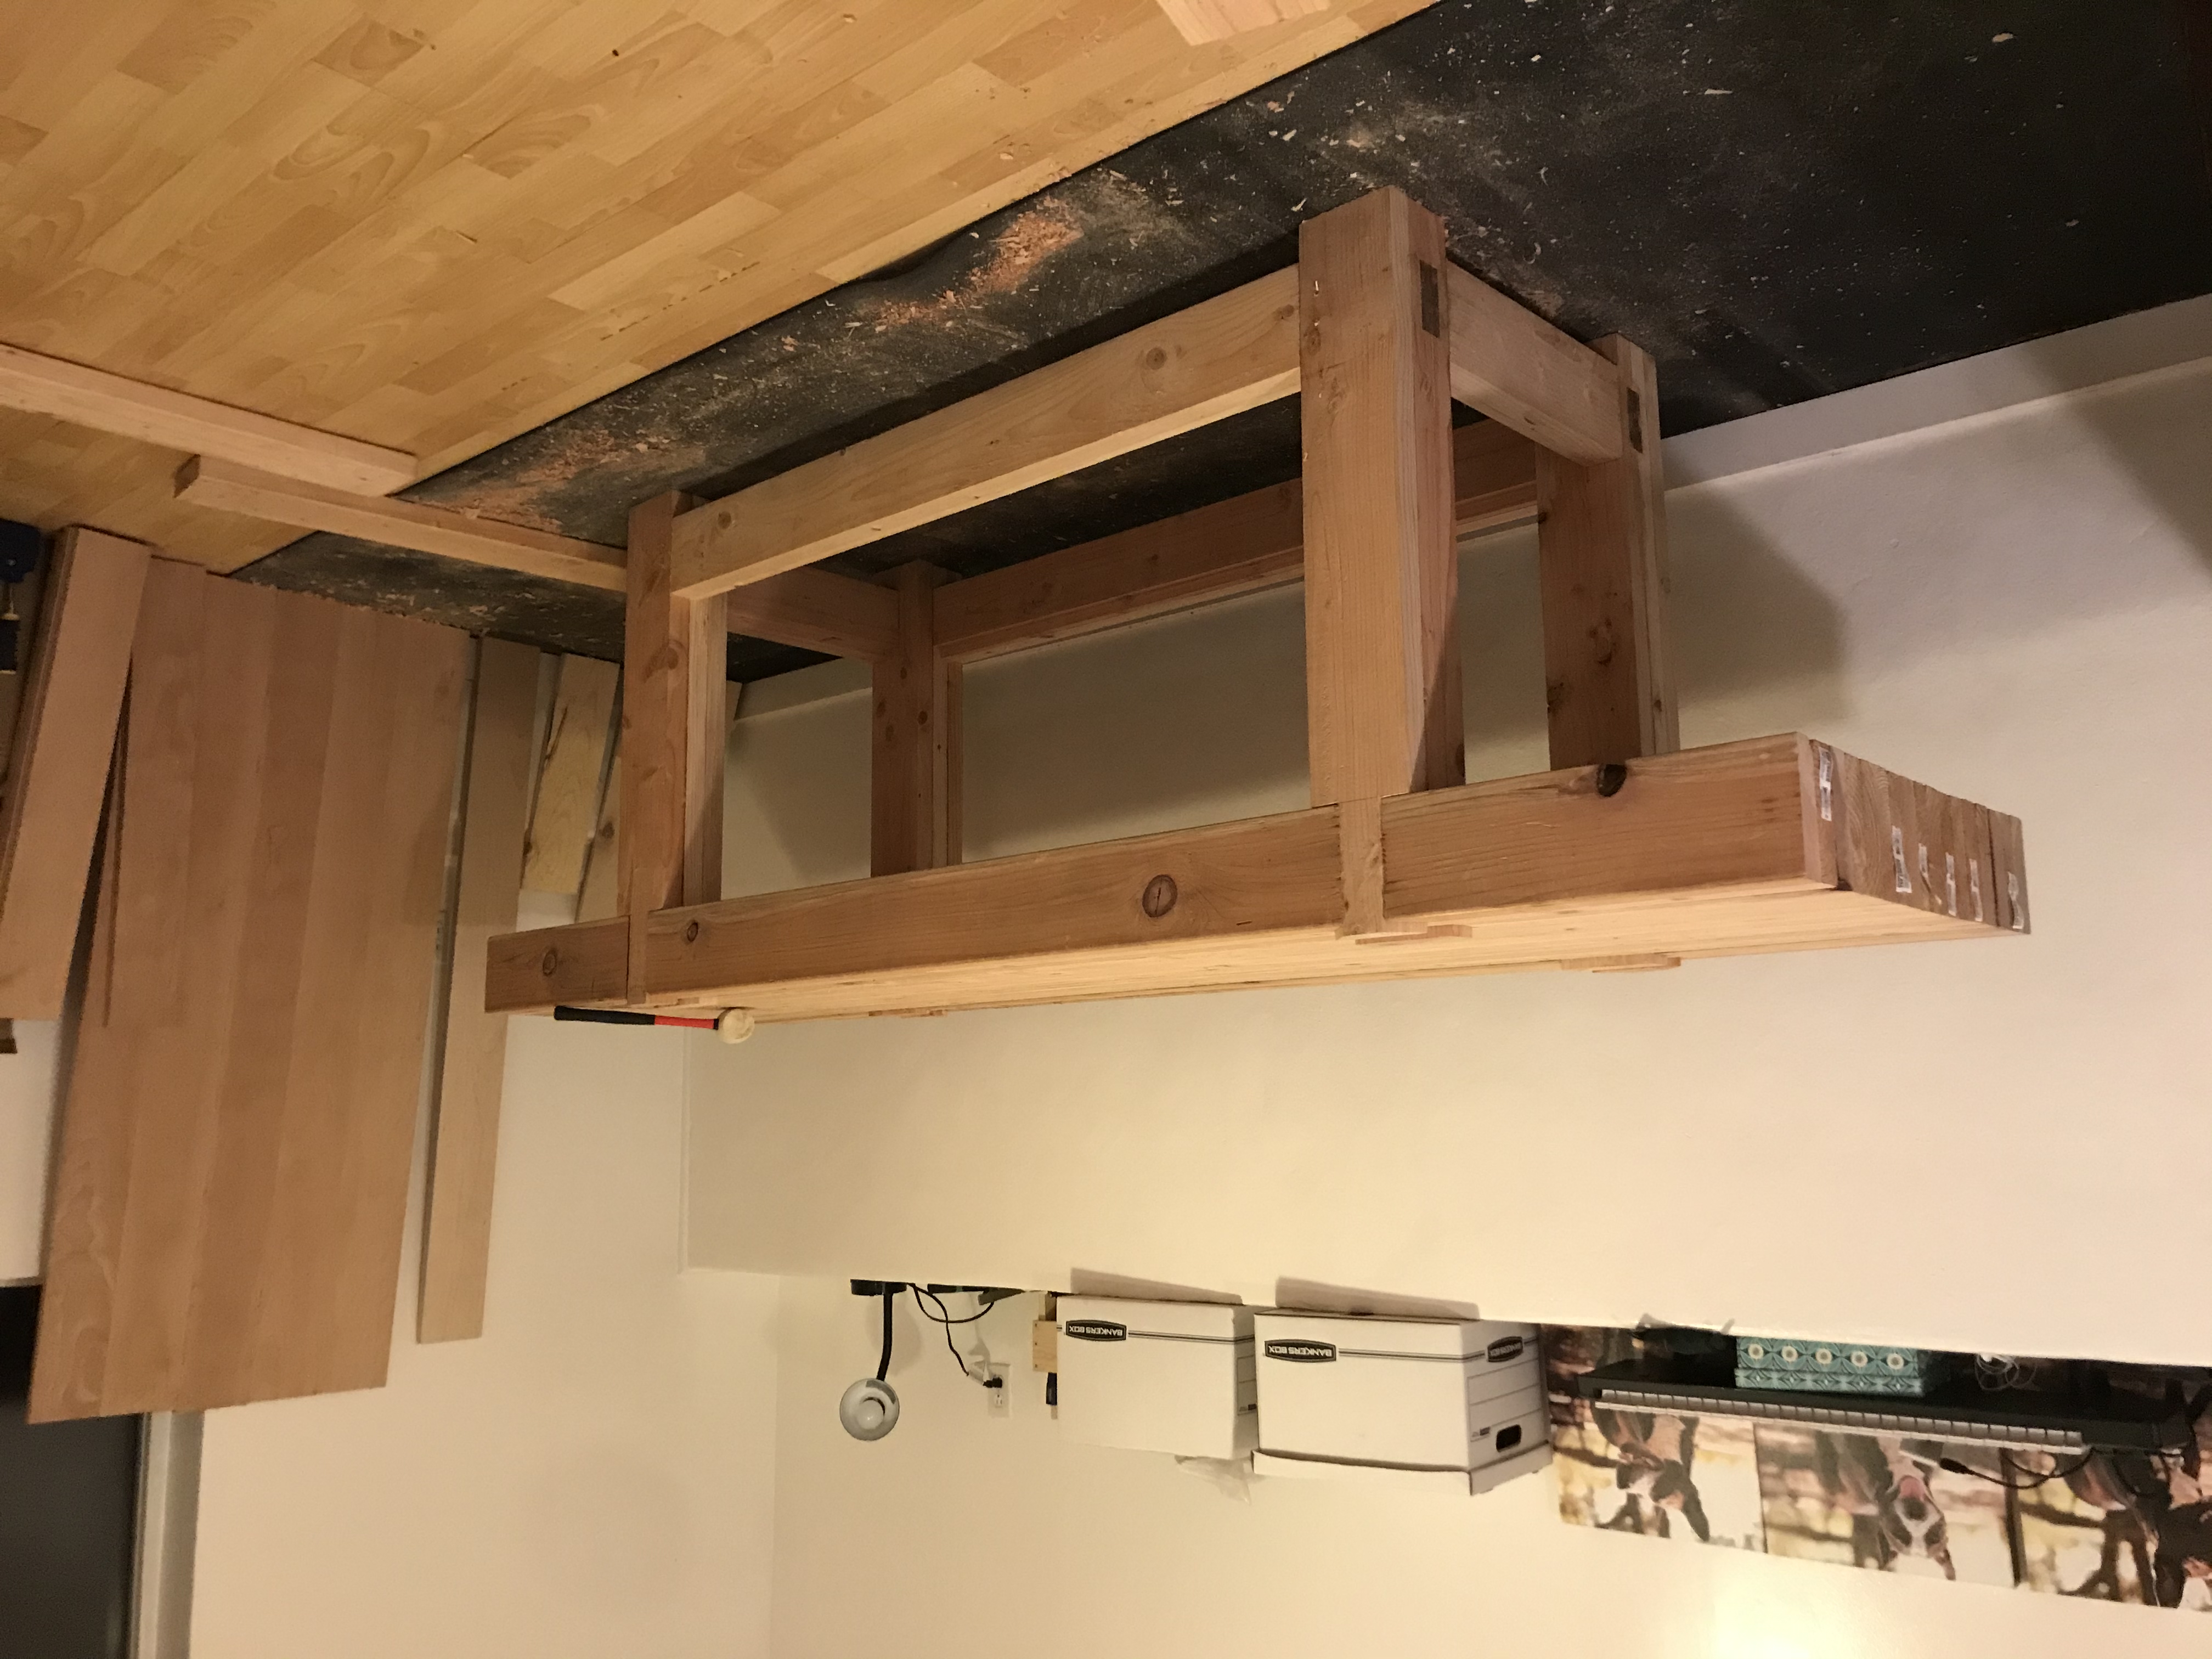
I decided to use the entire width of the 8 foot long 2x6s, panel gluing 17 of them together to get a table depth of roughly 25". Since I’m 5'10", I decided to go with a standard table height of 34".
Table top glue up
I didn’t put too much thought into the table top glue up, and I didn’t even joint the boards! I just grabbed some clamps and started gluing. I know some people would say this would be a mistake, but I really needed a bench quickly and wasn’t afraid to use my hand plane after the glue up finished (in fact during COVID I was quite excited for the exercise). The only potential problem would have been gaps in the wood. Luckily I had enough clamps and did the glue up in pieces so that this wasn’t a problem.
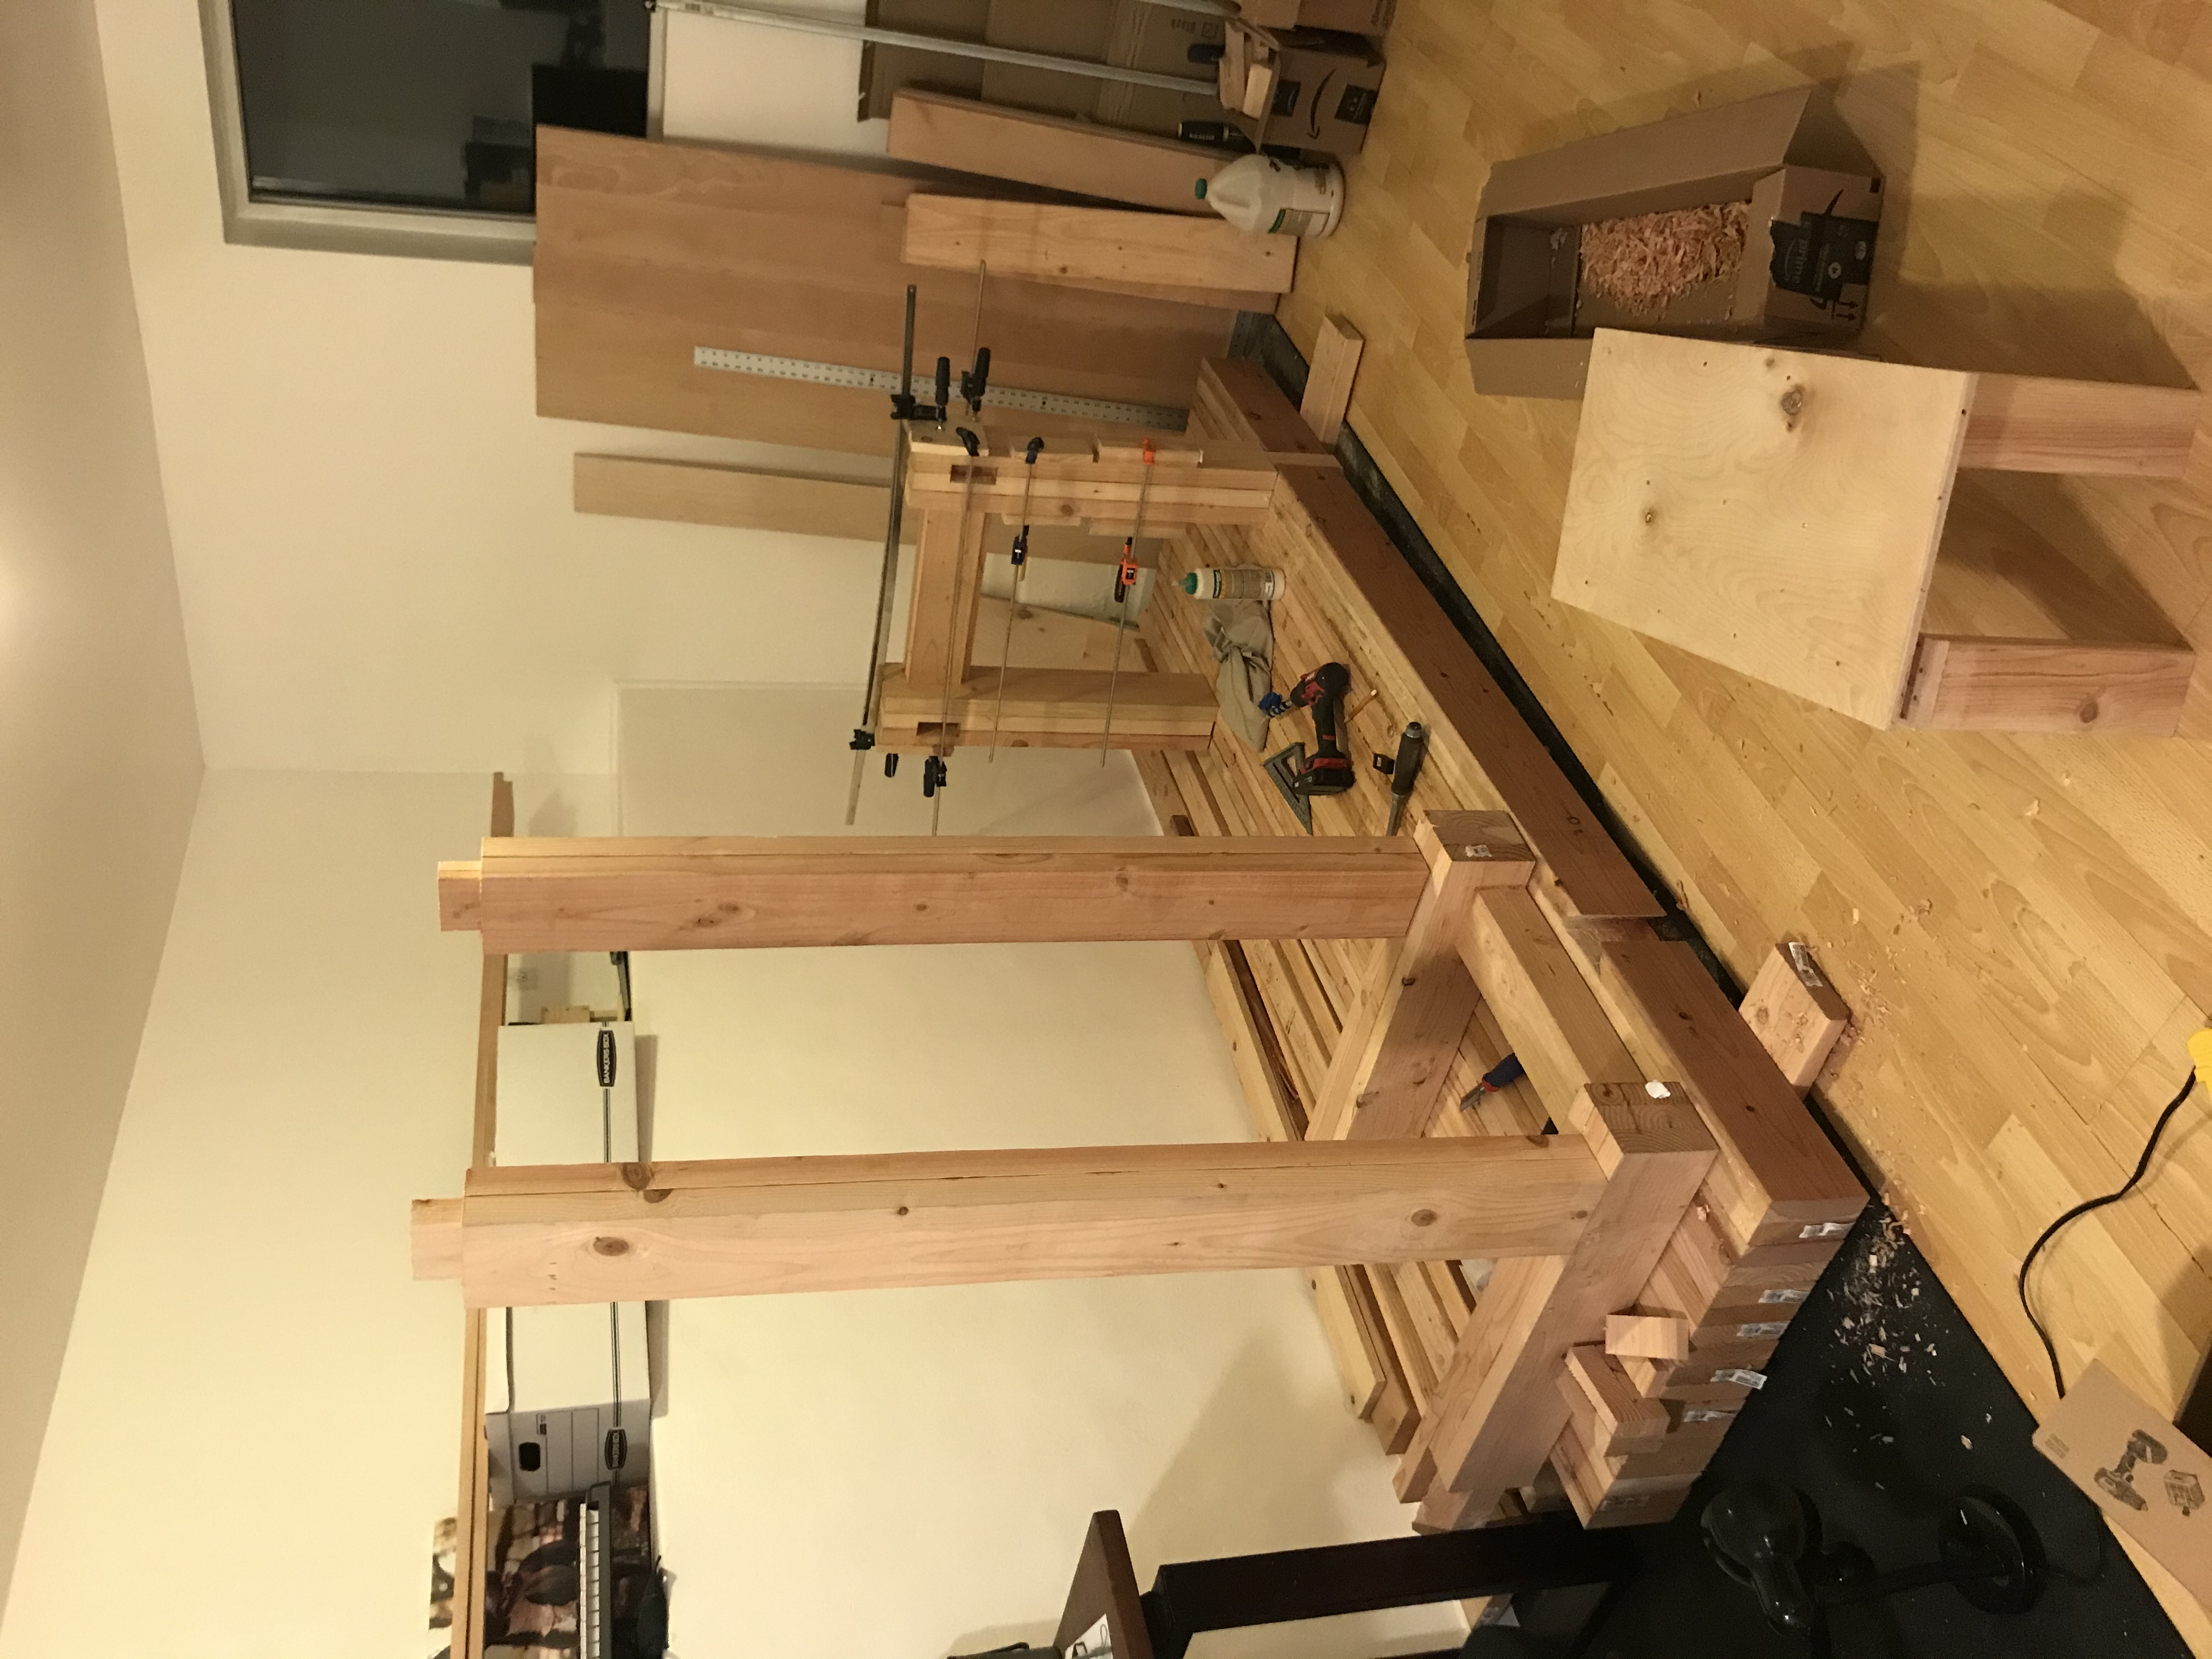
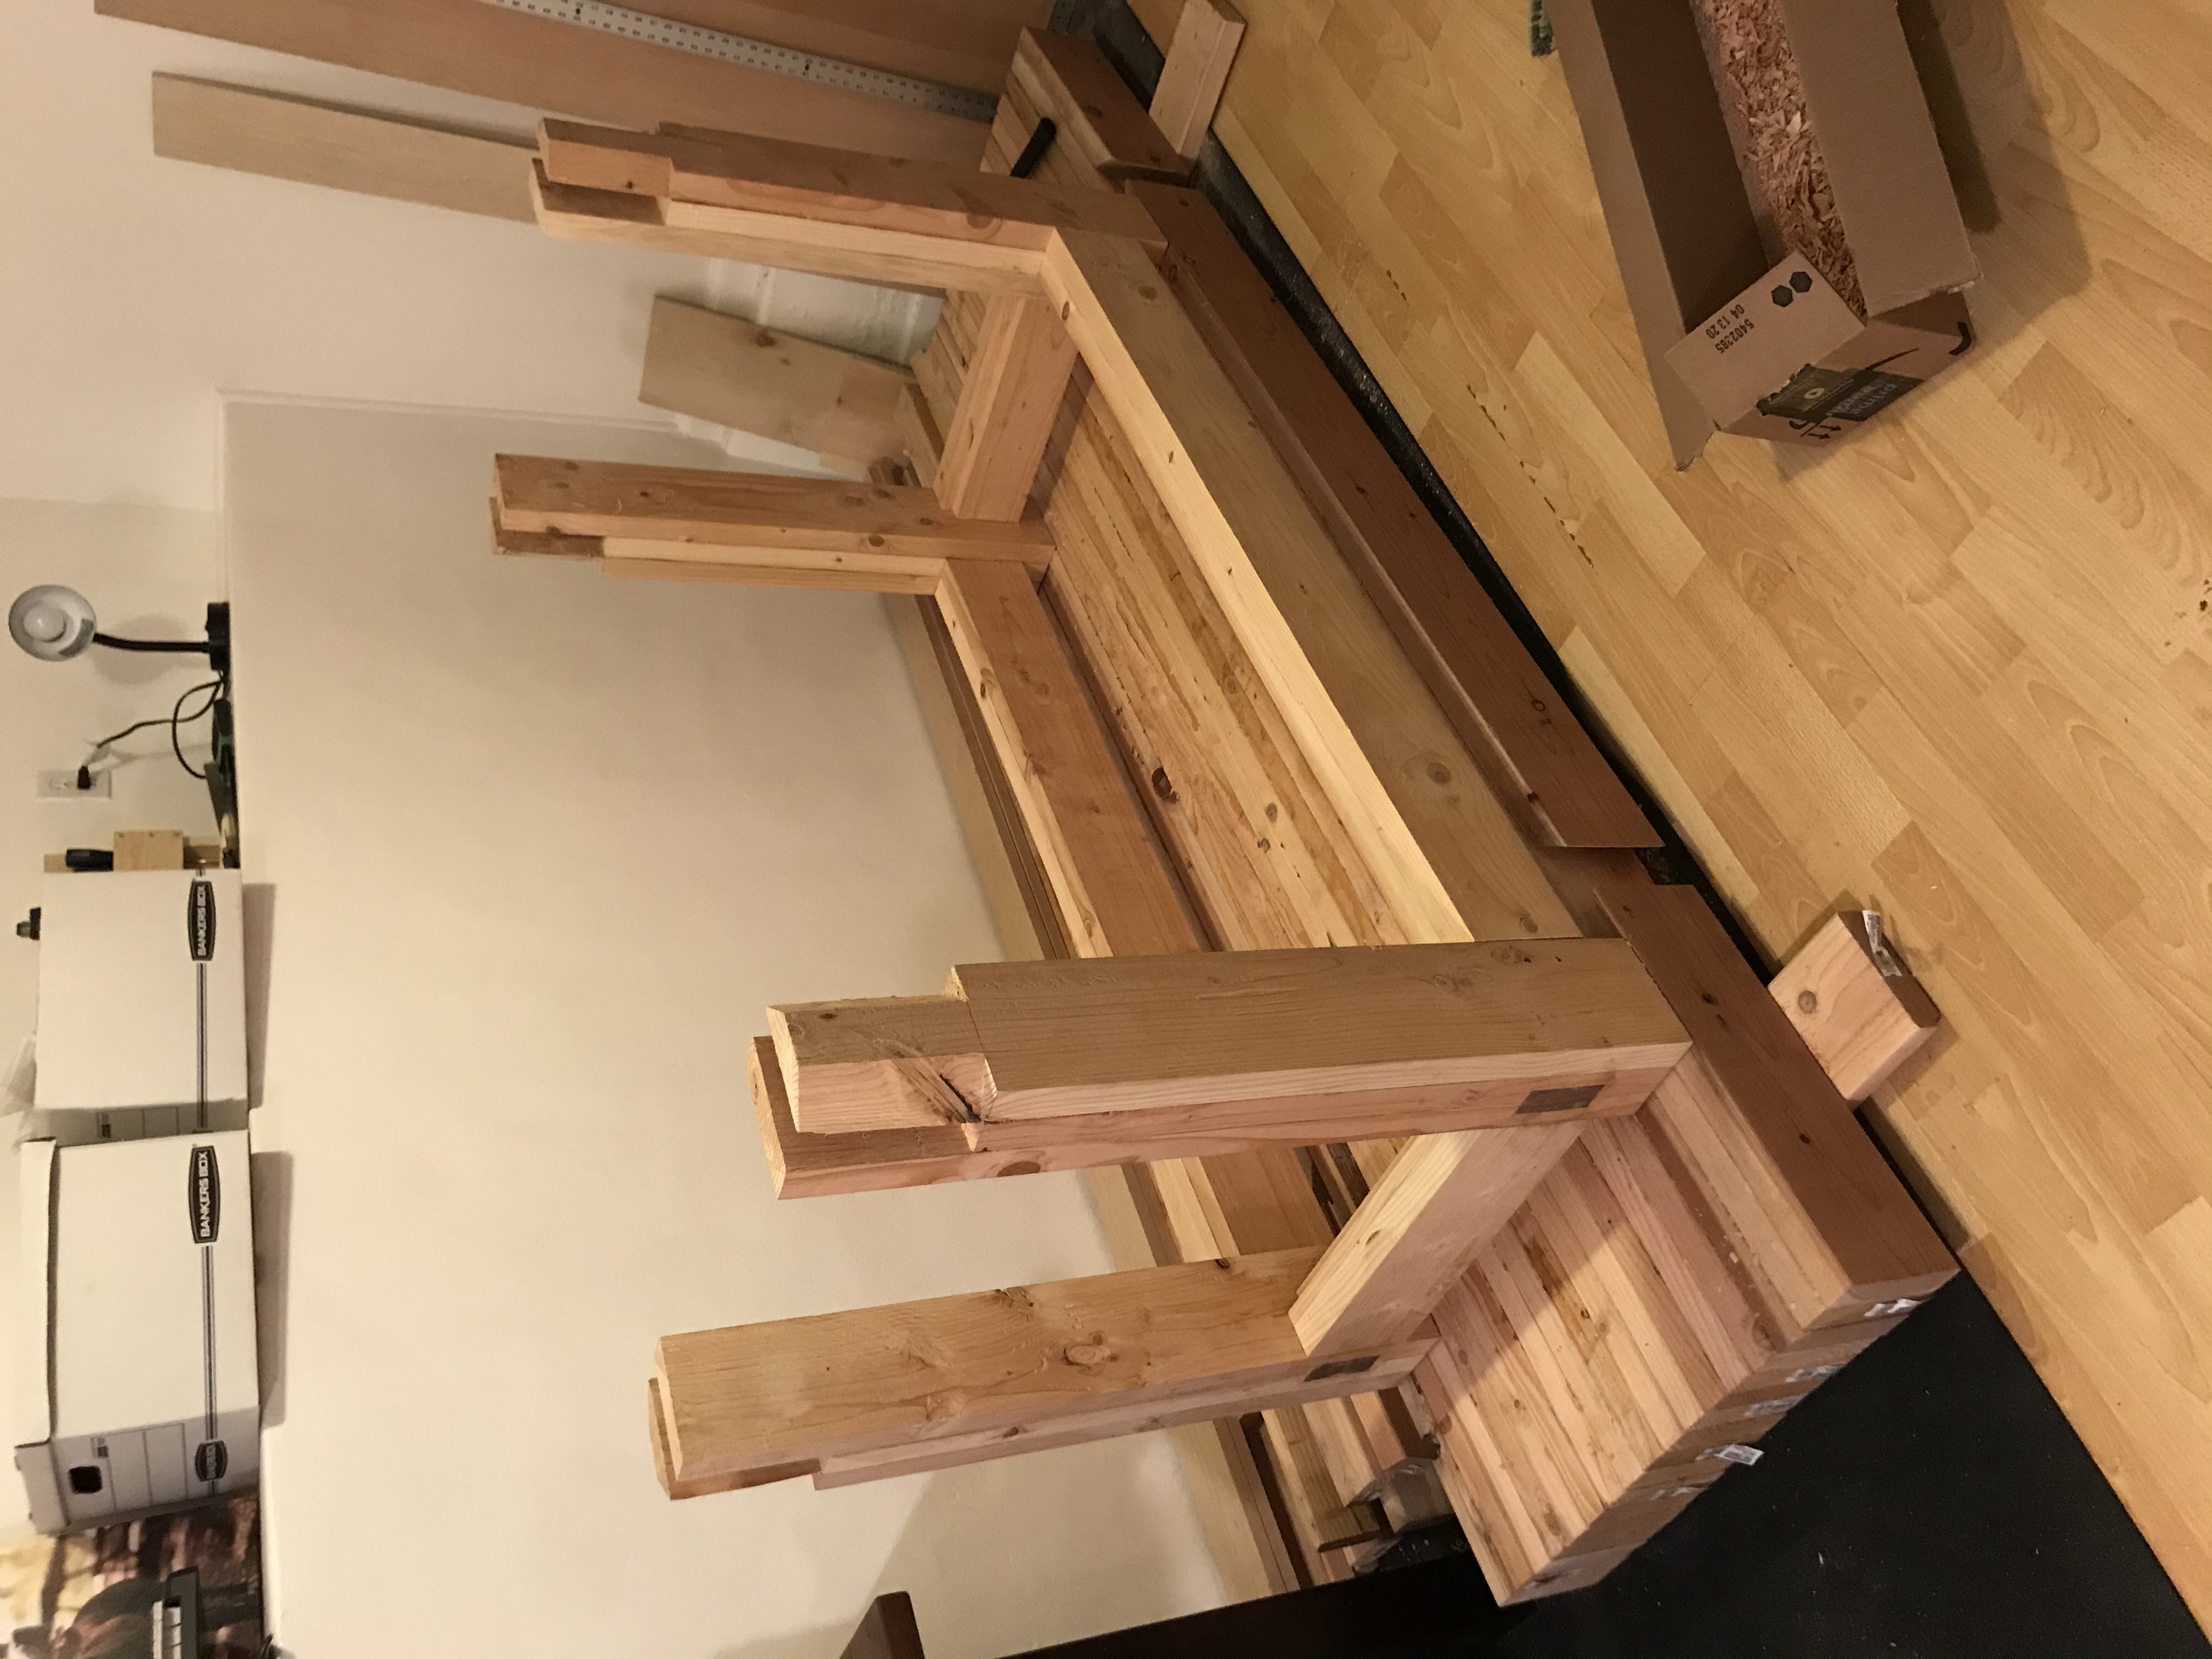
Base
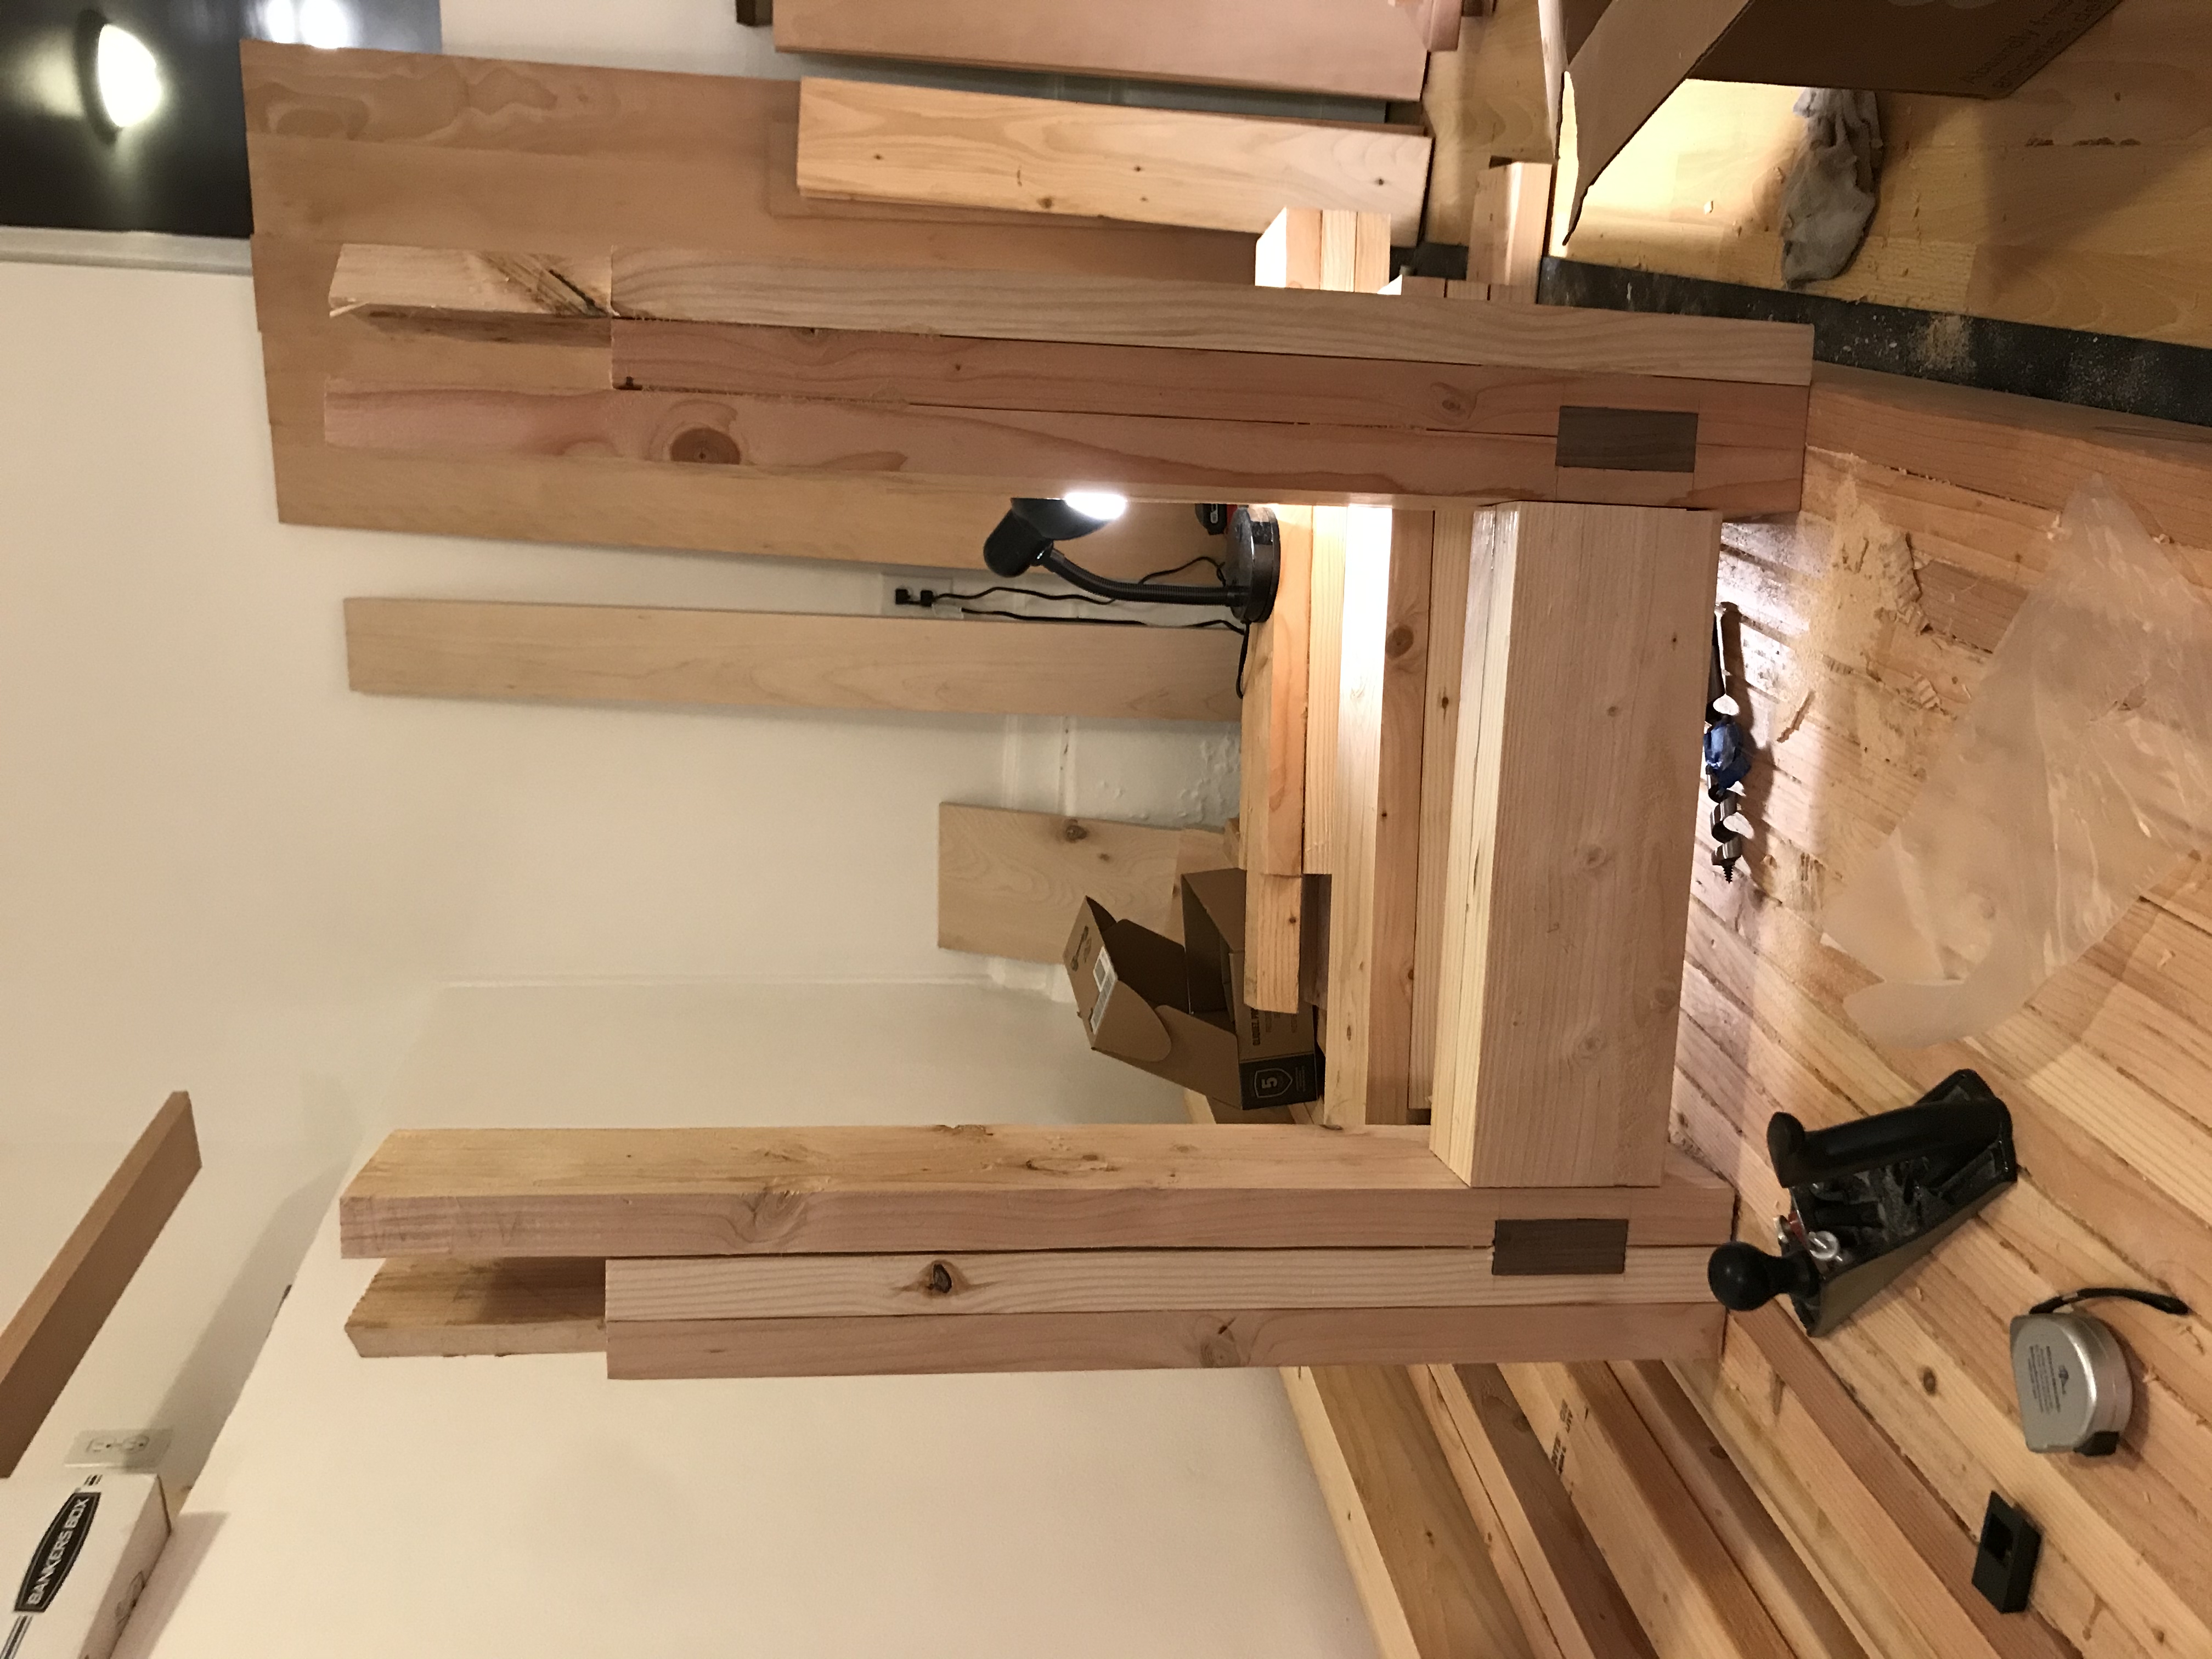
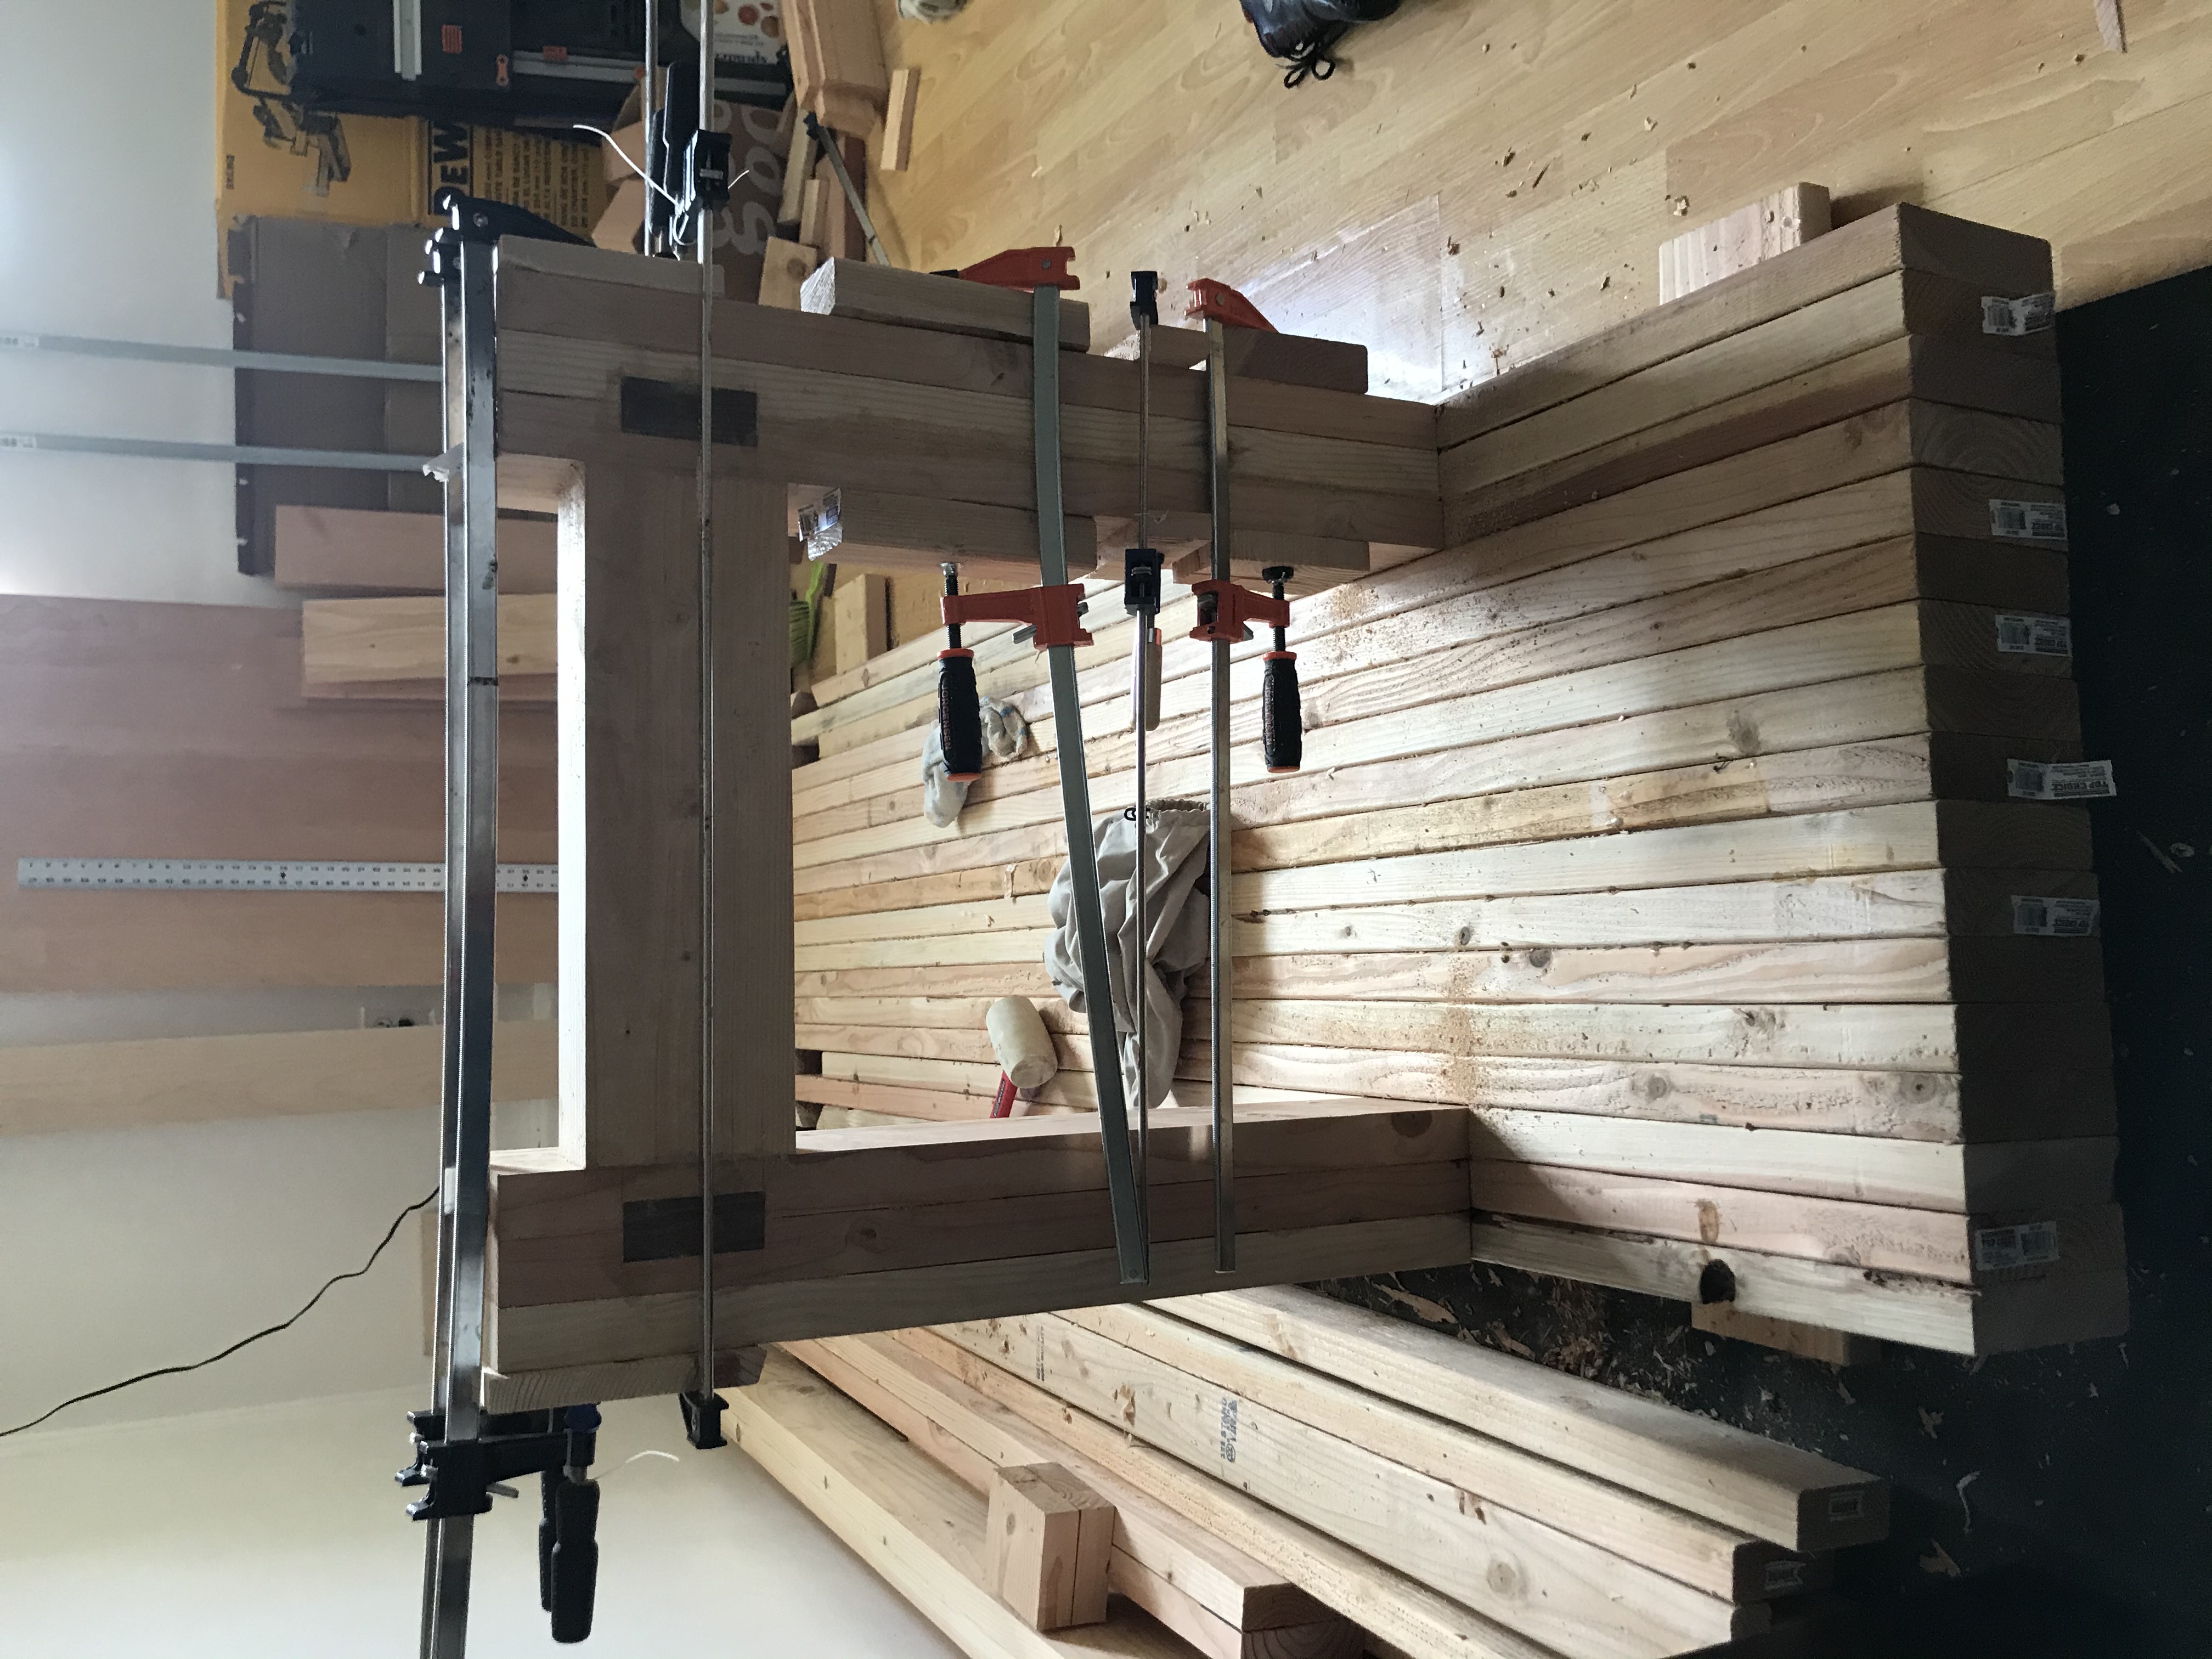
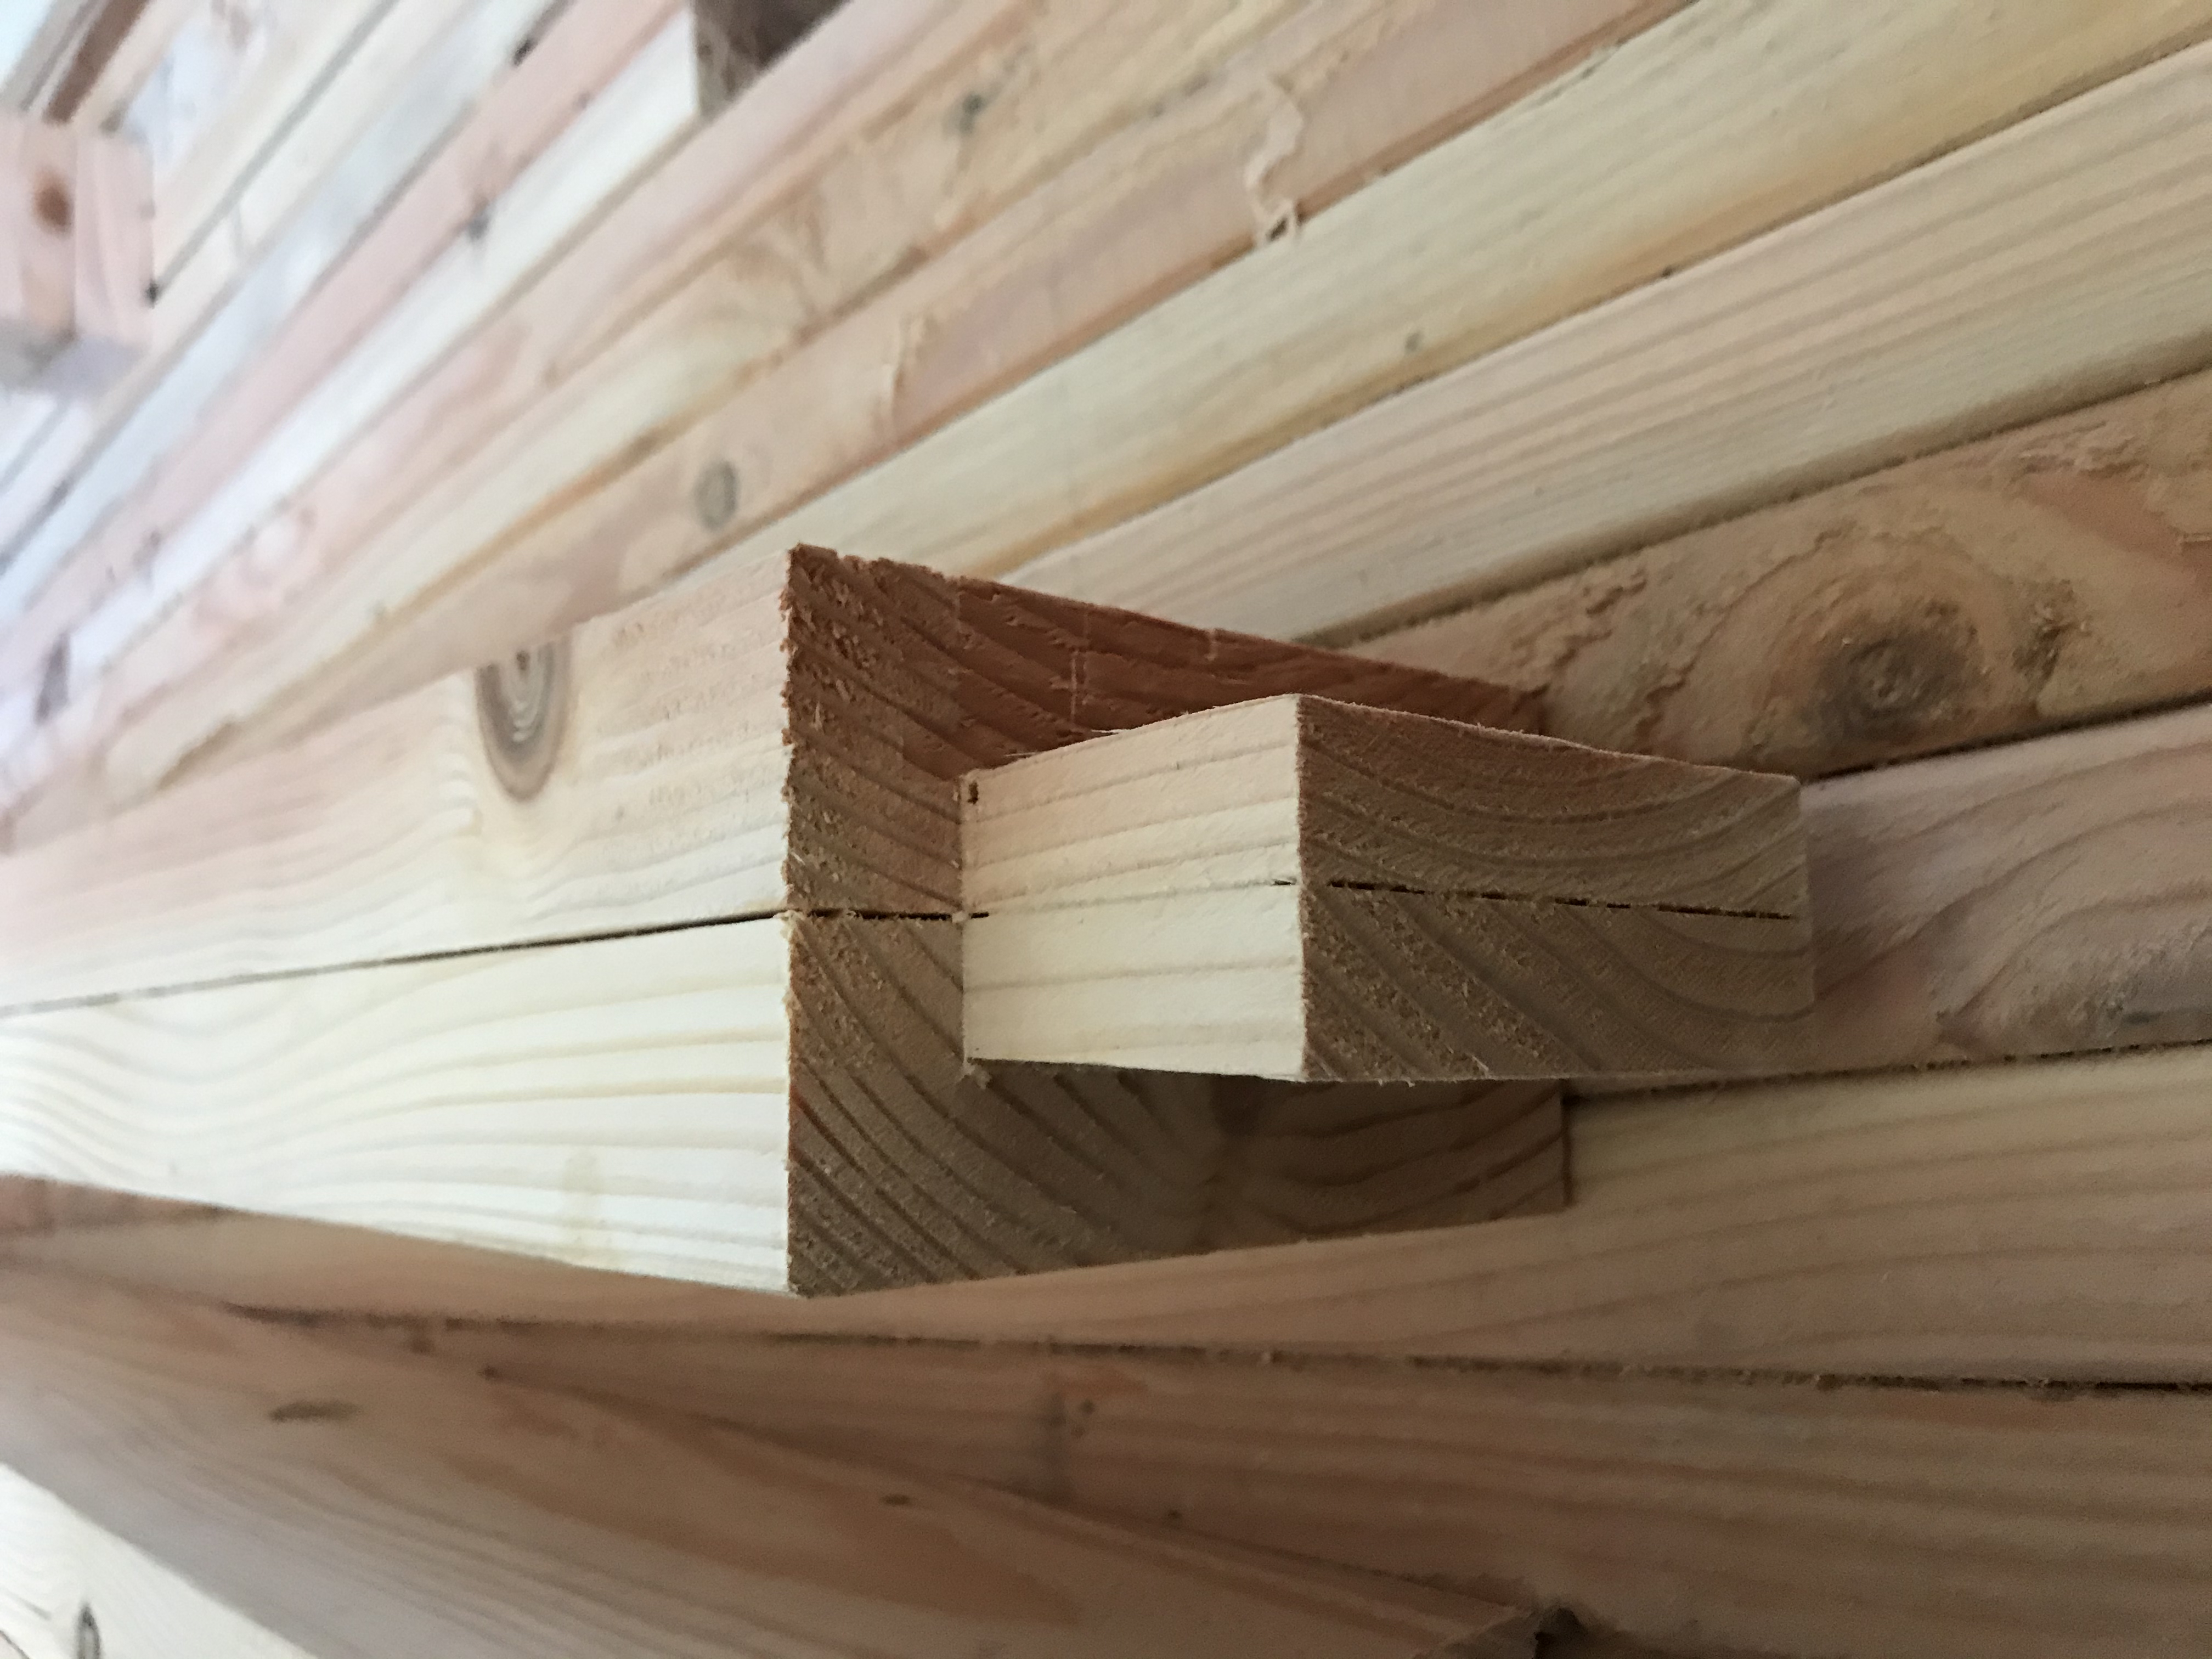
For the base, I decided to go with the standard sliding dovetail tenon joint found on most Roubo benches. These turned out pretty well, although there were some gaps. If I were to do this again, I would have completed the entire base before cutting out the mortises on the table so that I could mark exactly where the tenons would sit. Unfortunately, I made the mortises for each leg before the entire leg assembly had been glued up. This caused the glue up to be incredibly stressful as I was frantically trying to push the tenon legs down and get them fully seated.
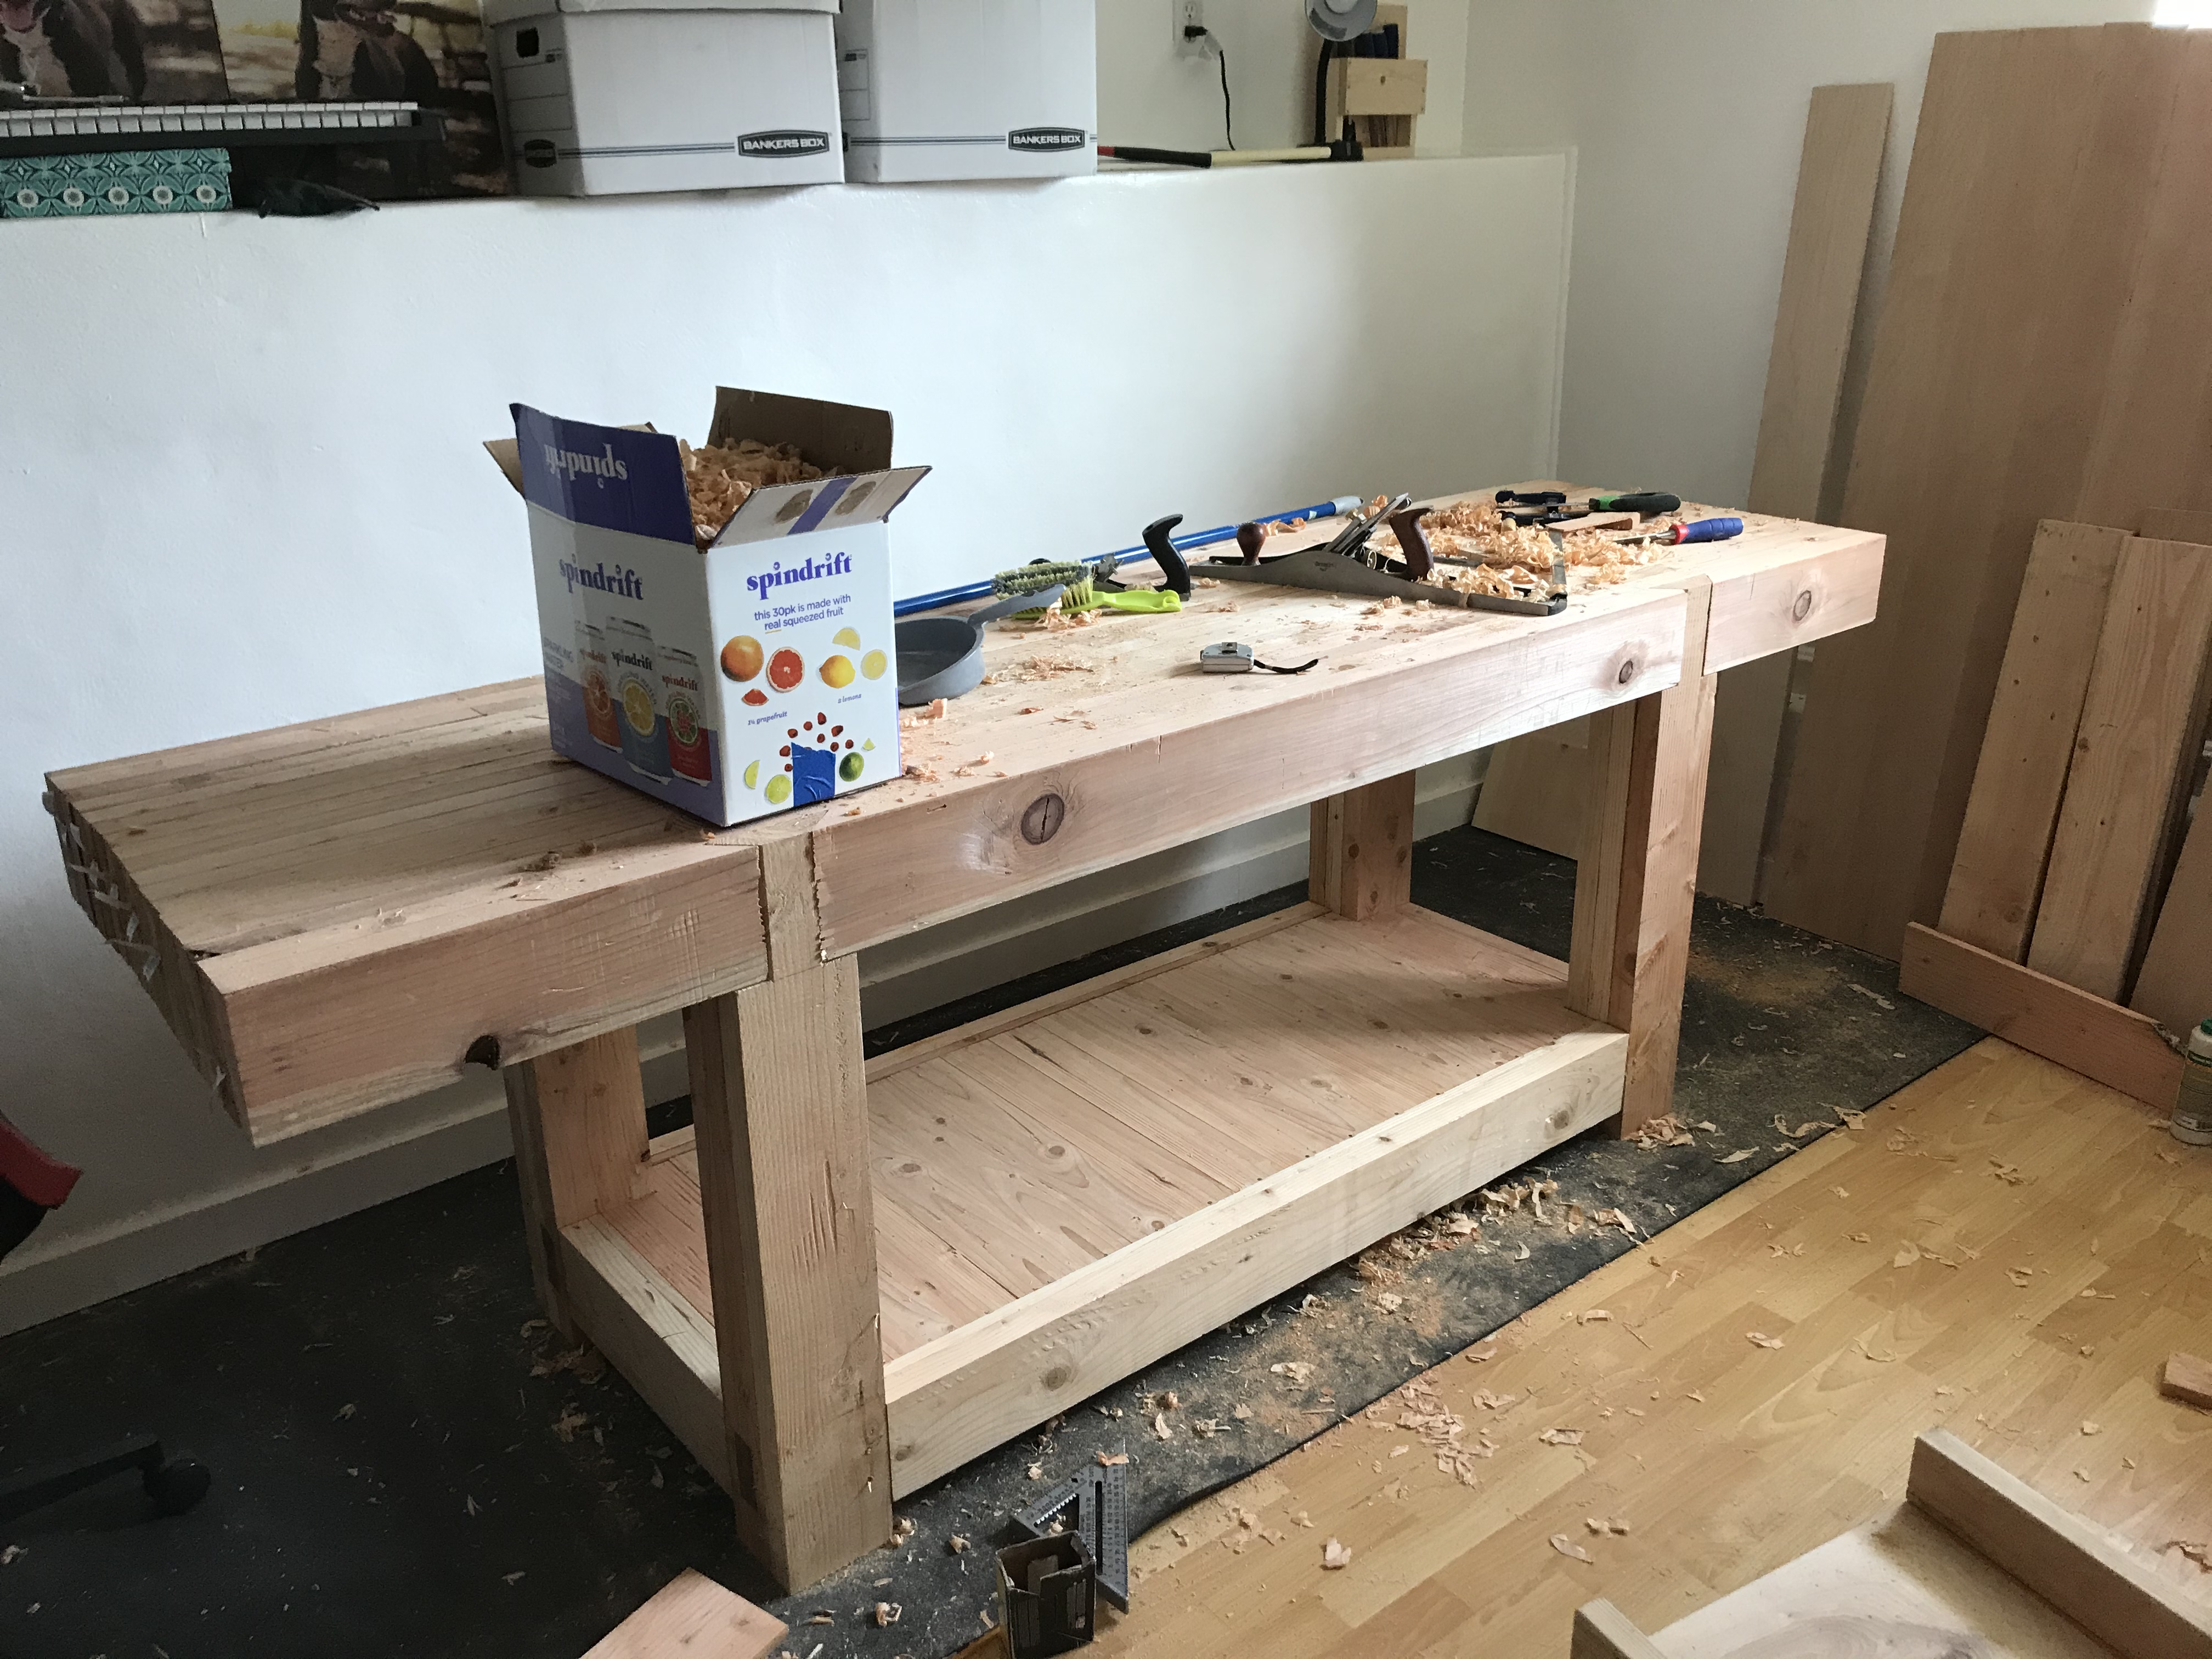
I added a small bench area to store tools and lumber. It was a simple design using rabbets and some spare 2x4s that I had bought.
Flattening
Flattening was quite the physical challenge. It was a lot of planing, and it was quite tiring. This was probably my favorite part of the whole project because I love a good workout, and because planing is such a meditative activity.
Total cost
Total cost for this bench was surprisingly low!
Lumber Total: $240
- 25 Douglas fir 2x6s: $125
- 8 Douglas fir 2x4s: $25
- 4 Redwood 2x6s: $90
Accessories Total: $170
- 9" Yost vise: $100
- 2 Gramercy holdfasts: $40
- 2 Veritas bench dogs: $30
Learnings
- I probably should have jointed the 2x6s before gluing anything. Going straight to glue up saved a bunch of time, but the end product wasn’t quite as nice and neat as it could have been
- Making a workbench out of construction lumber and with less than stellar joinery actually isn’t the worst thing. I’ve been able to chisel on the bench without fear because it’s not that nice after all. It’s a workbench: so it’s meant to get abuse.
- Having a decent plane makes a gigantic difference. Previously I was using a $30 smoothing plane from Amazon and it was not the best to put it mildly. I got a #7 jointer plane from TayTools and it was a massive upgrade (even though it’s not a top of the line tool). Having a blade that can stay sharp is huge, as was the depth adjustment.
- Make your own hardwood dowels. I bought some “hardwood” dowels from Amazon to use for my pegged mortise and tenons on the base. These were horrendous because as I was hammering them in they started splitting. I eventually got all of the mortises pegged, but it wasn’t pretty.
- Mistakes can turn beautiful. On one set of legs, I chopped mortises on the wrong side of the leg. However, I plugged them up with some solid pieces of walnut and they are now my favorite part of the bench.