Douglas Fir Bathmat
After completing my workbench, I had a good bit of construction lumber leftover. So I decided to make a wooden bathmat with the scrap.
Why a bathmat?
I’ve been lacking a bathmat in my life for a couple of months since I moved into my new apartment. Bathmats are one of those things that can really make a difference in your everyday life. Having your warm feet hit the cold tiled surface of your bathroom floor right after a shower is one of the most oddly unpleasant feelings.
Don’t get me wrong: cold feet aren’t a big deal. But when I think of marginal happiness, keeping your feet warm is probably one of the highest bang for your buck things that you can do. It doesn’t cost much to have a bathmat and can make a big difference in the morning.
Design requirements
I knew a couple of things had to be true about the bathmat I was building.
- Waterproof: This one is pretty obvious, you don’t want your bathmat to rot after a couple of uses.
- Reasonable drainage: I didn’t want water to pool on top of my bath mat. I wanted to make sure that water would correctly run off onto the floor if there was too much of it.
- Stability: You can’t have your bathmat sliding around on you. That’d be dangerous, especially in a place like a bathroom.
The build
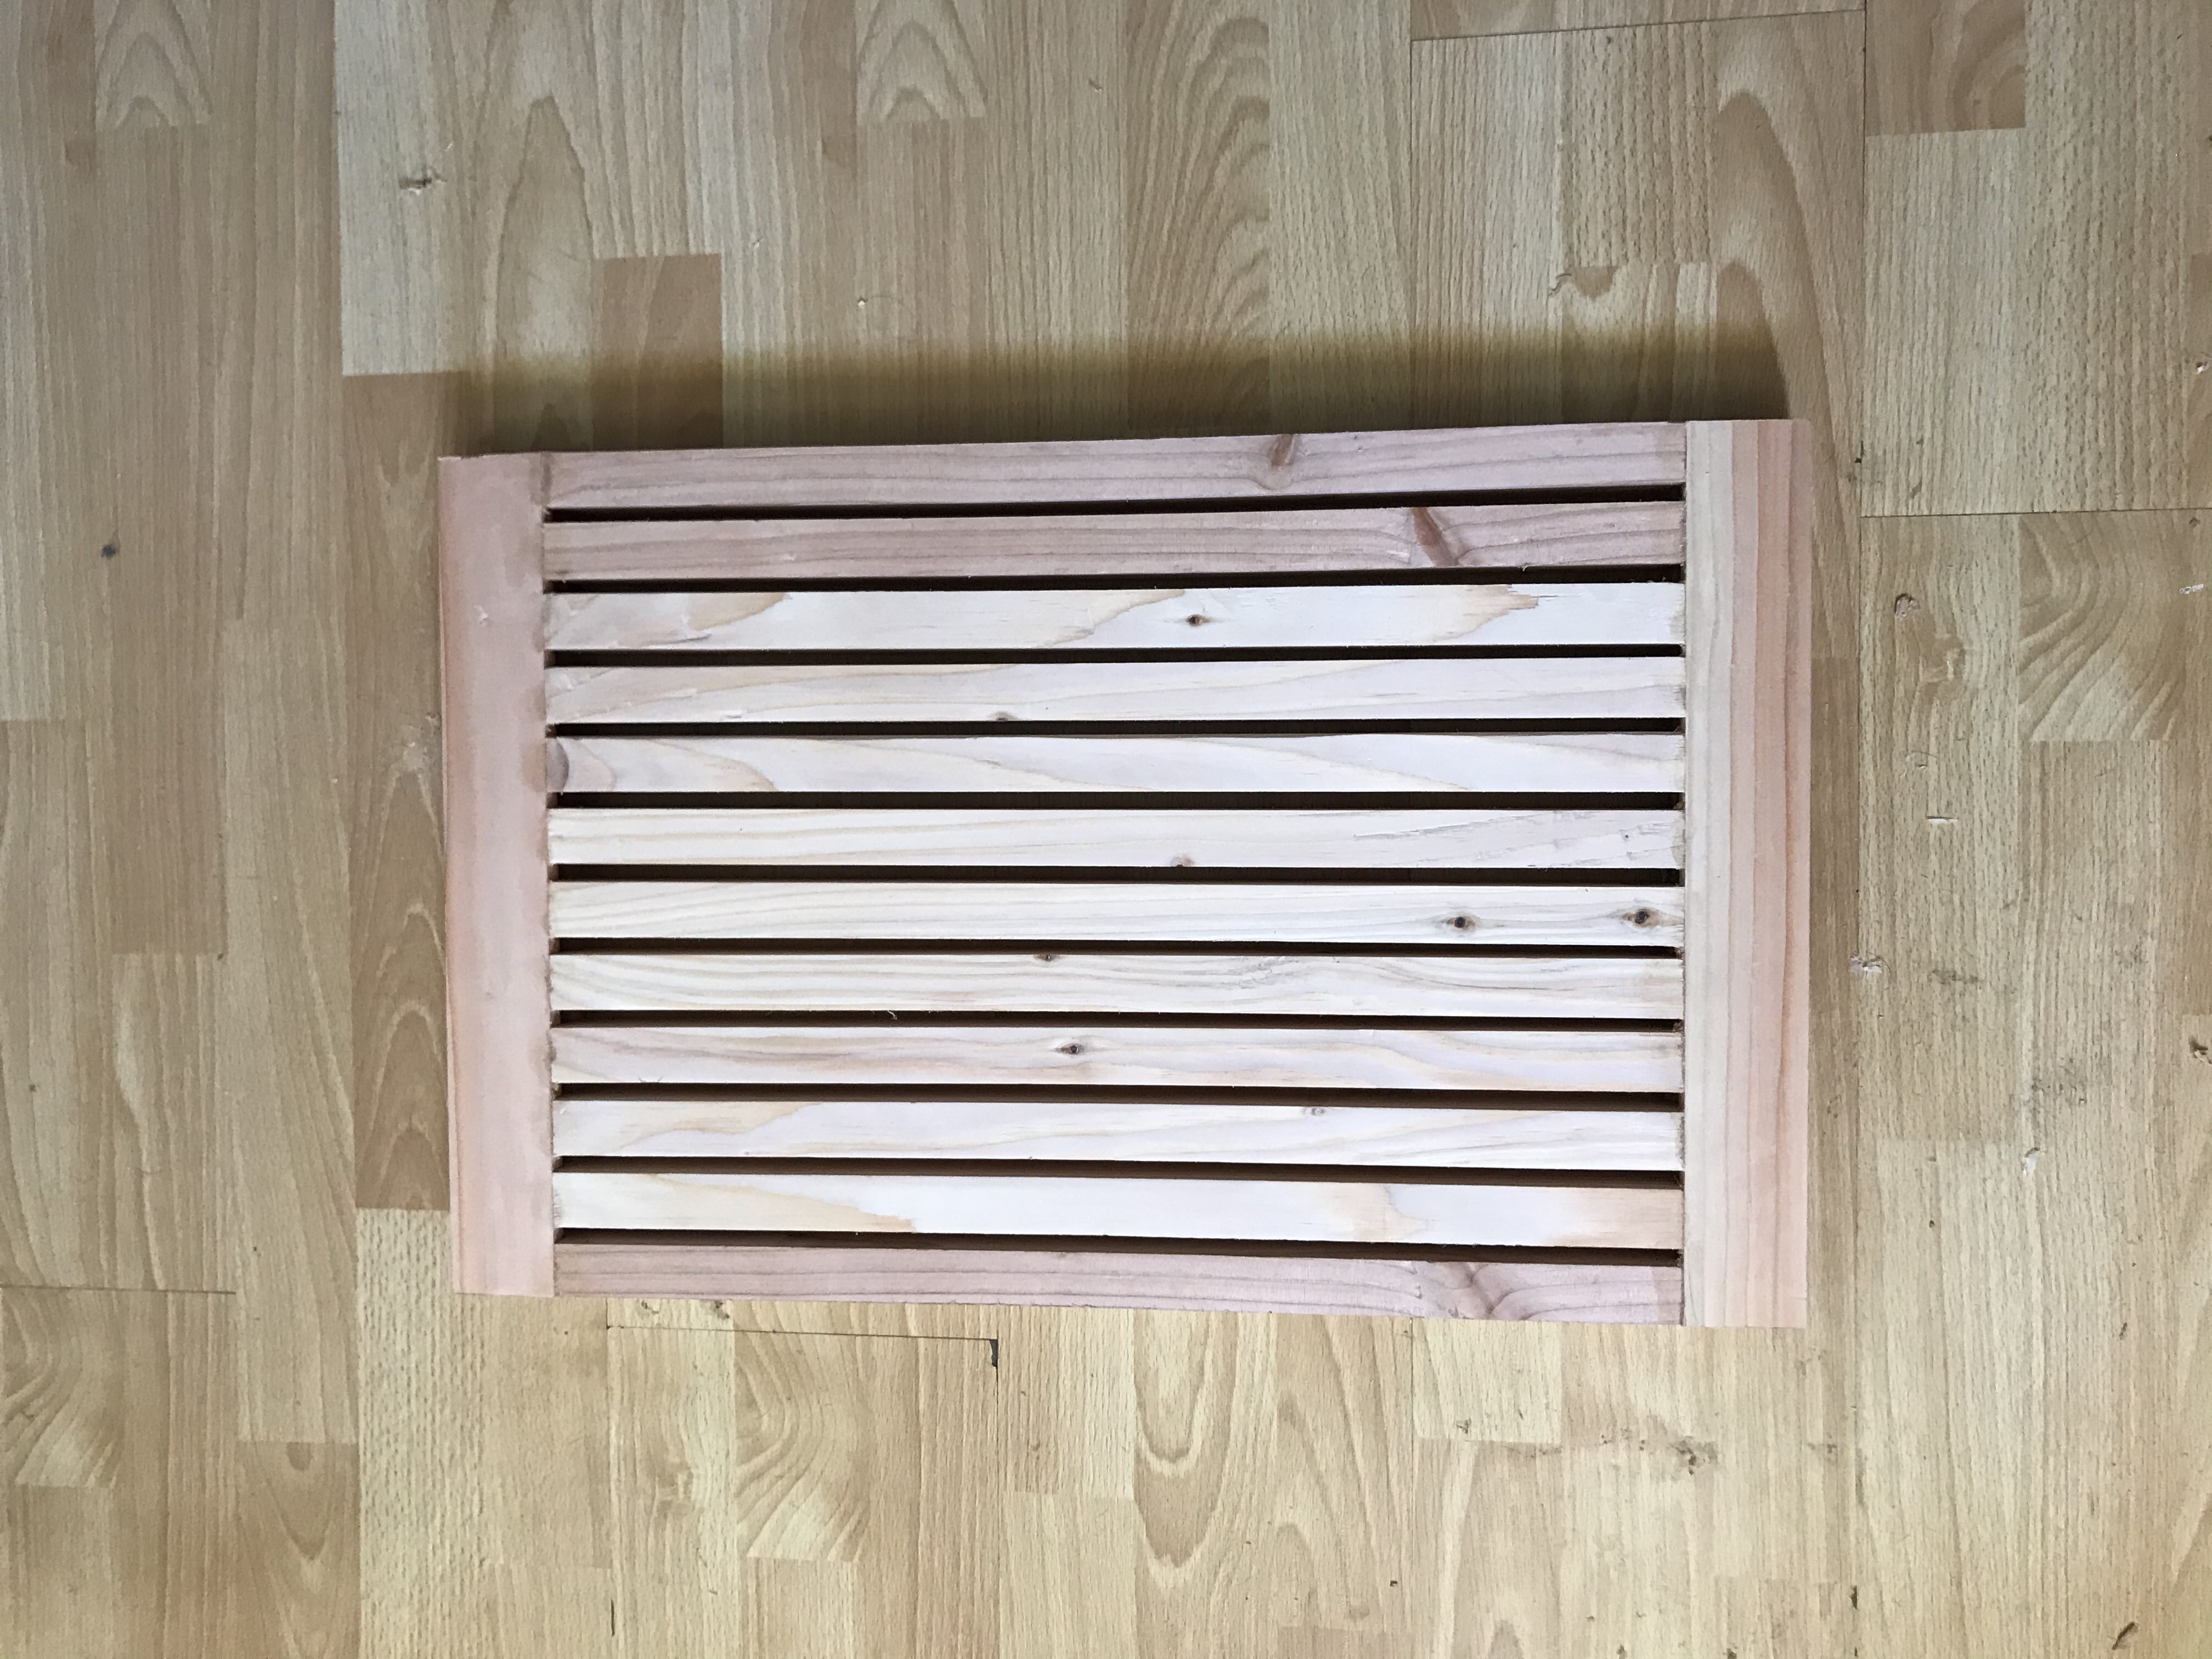
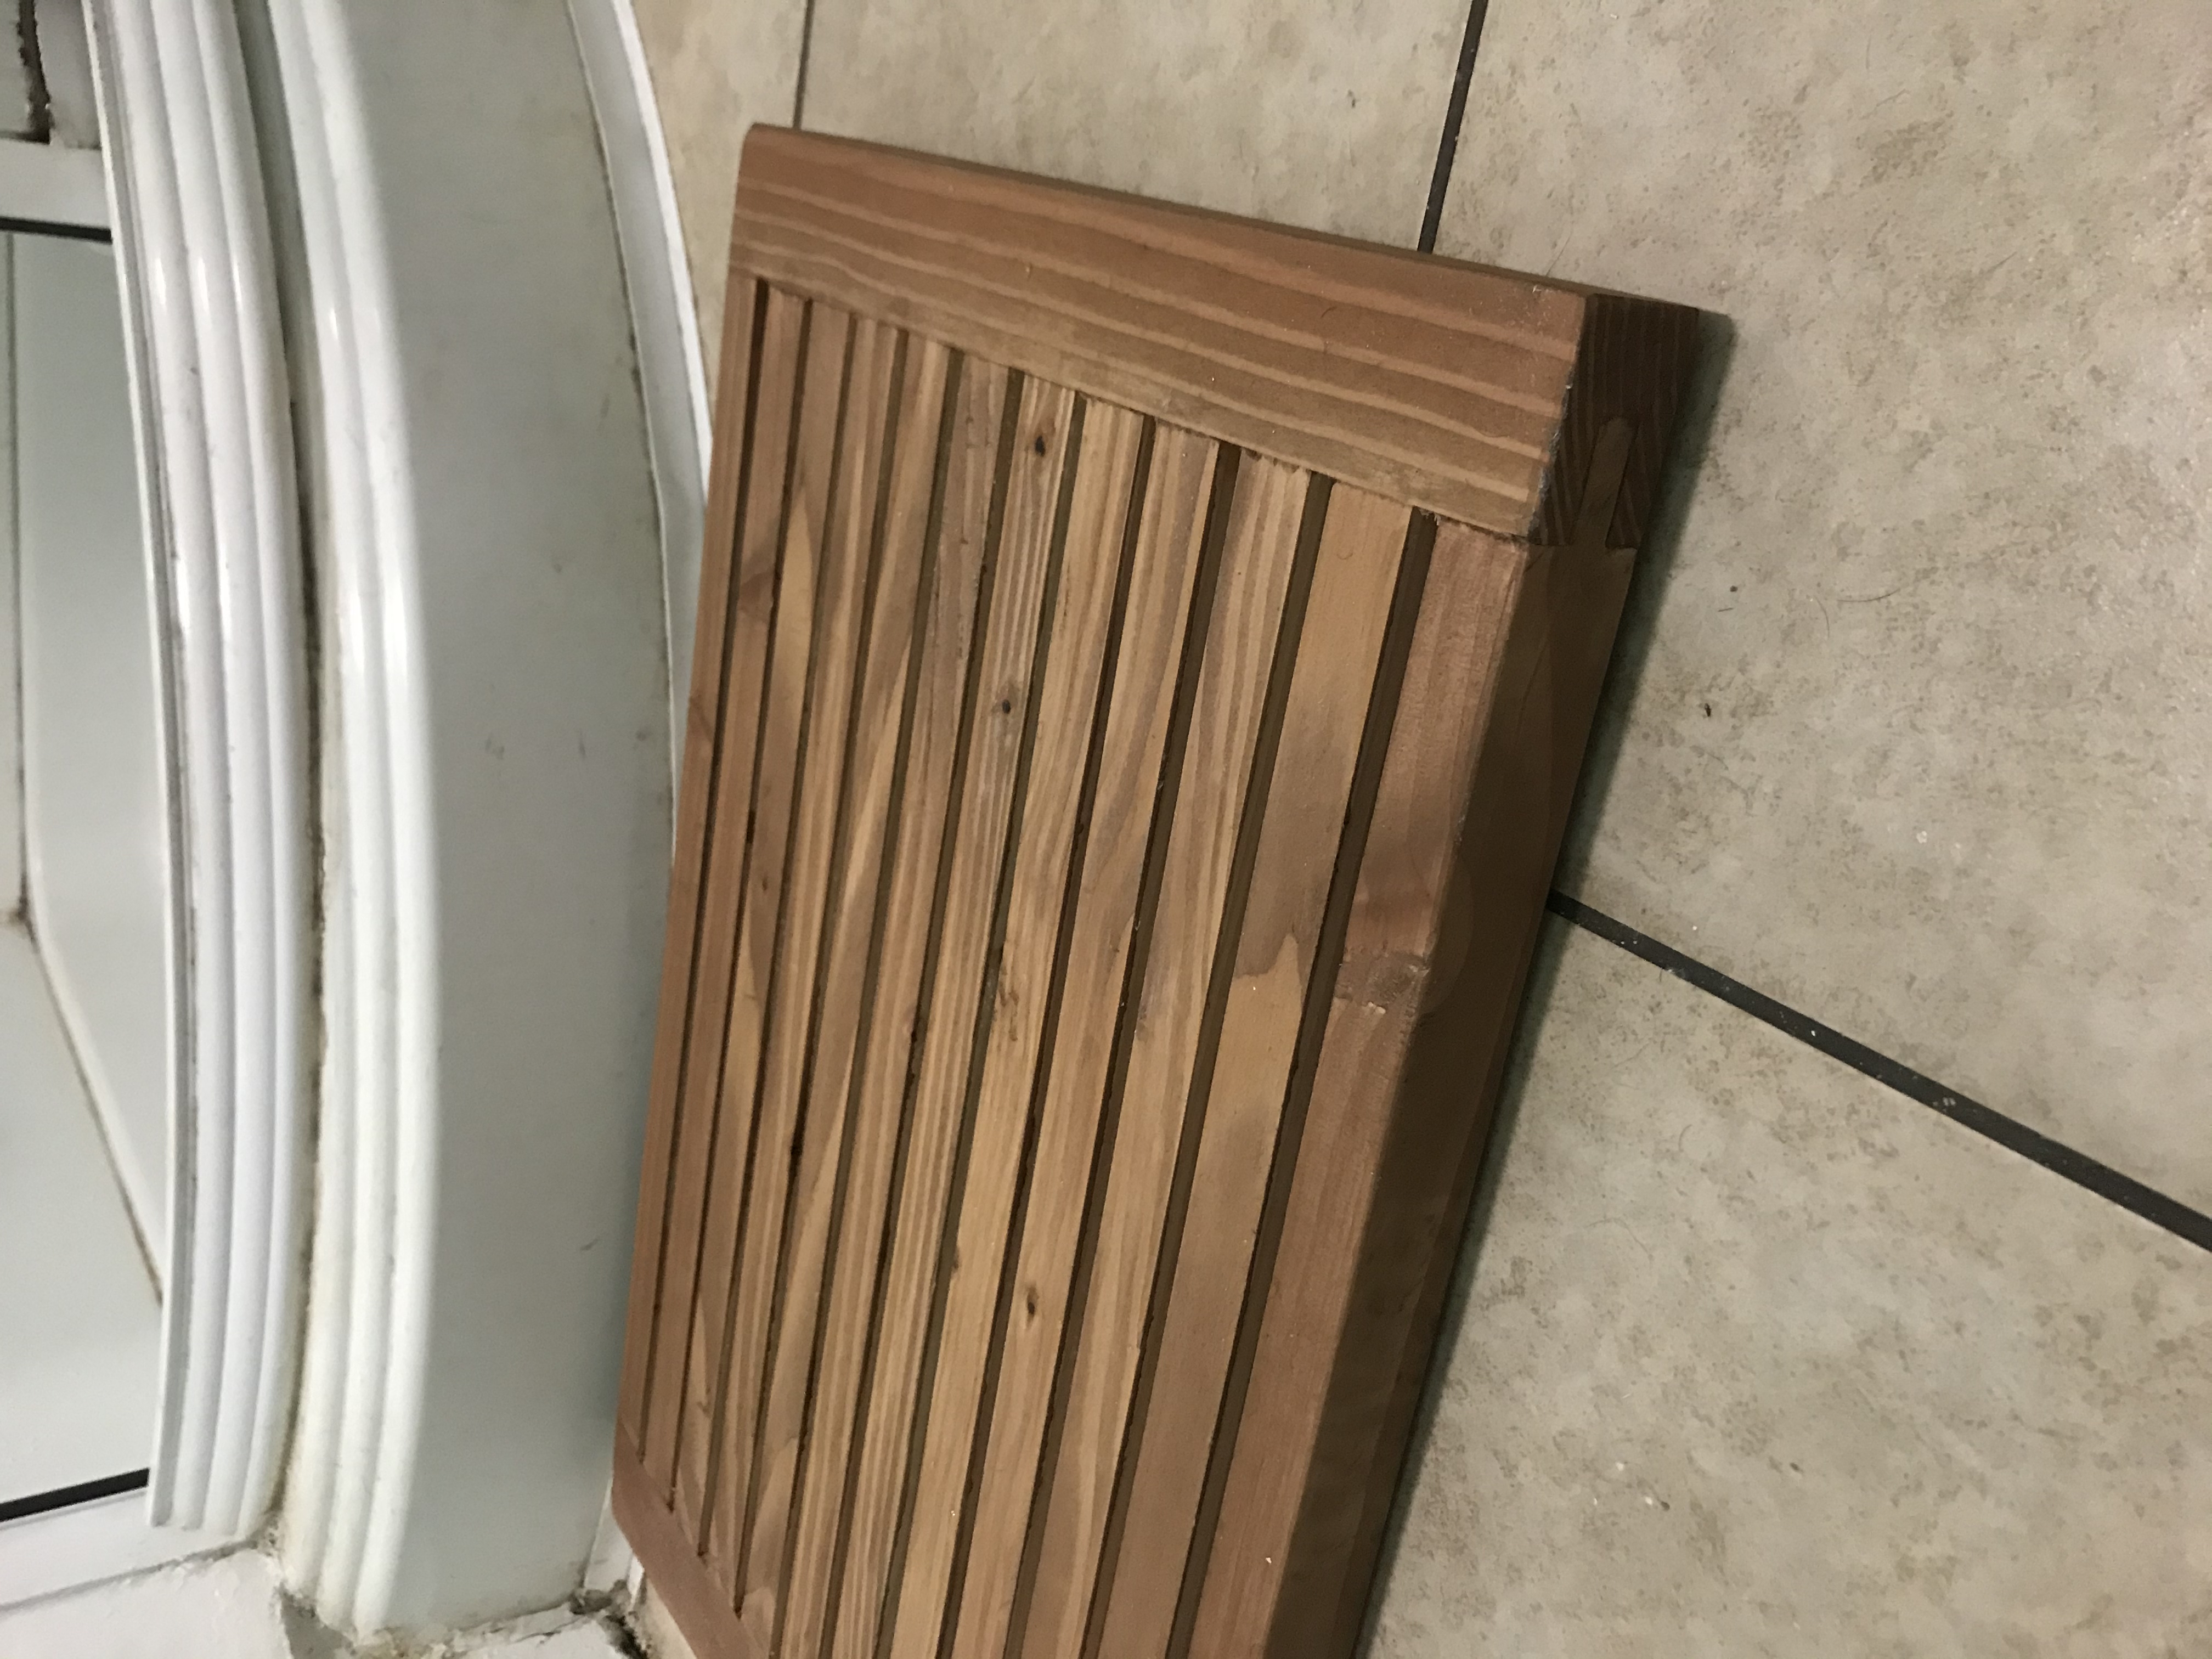
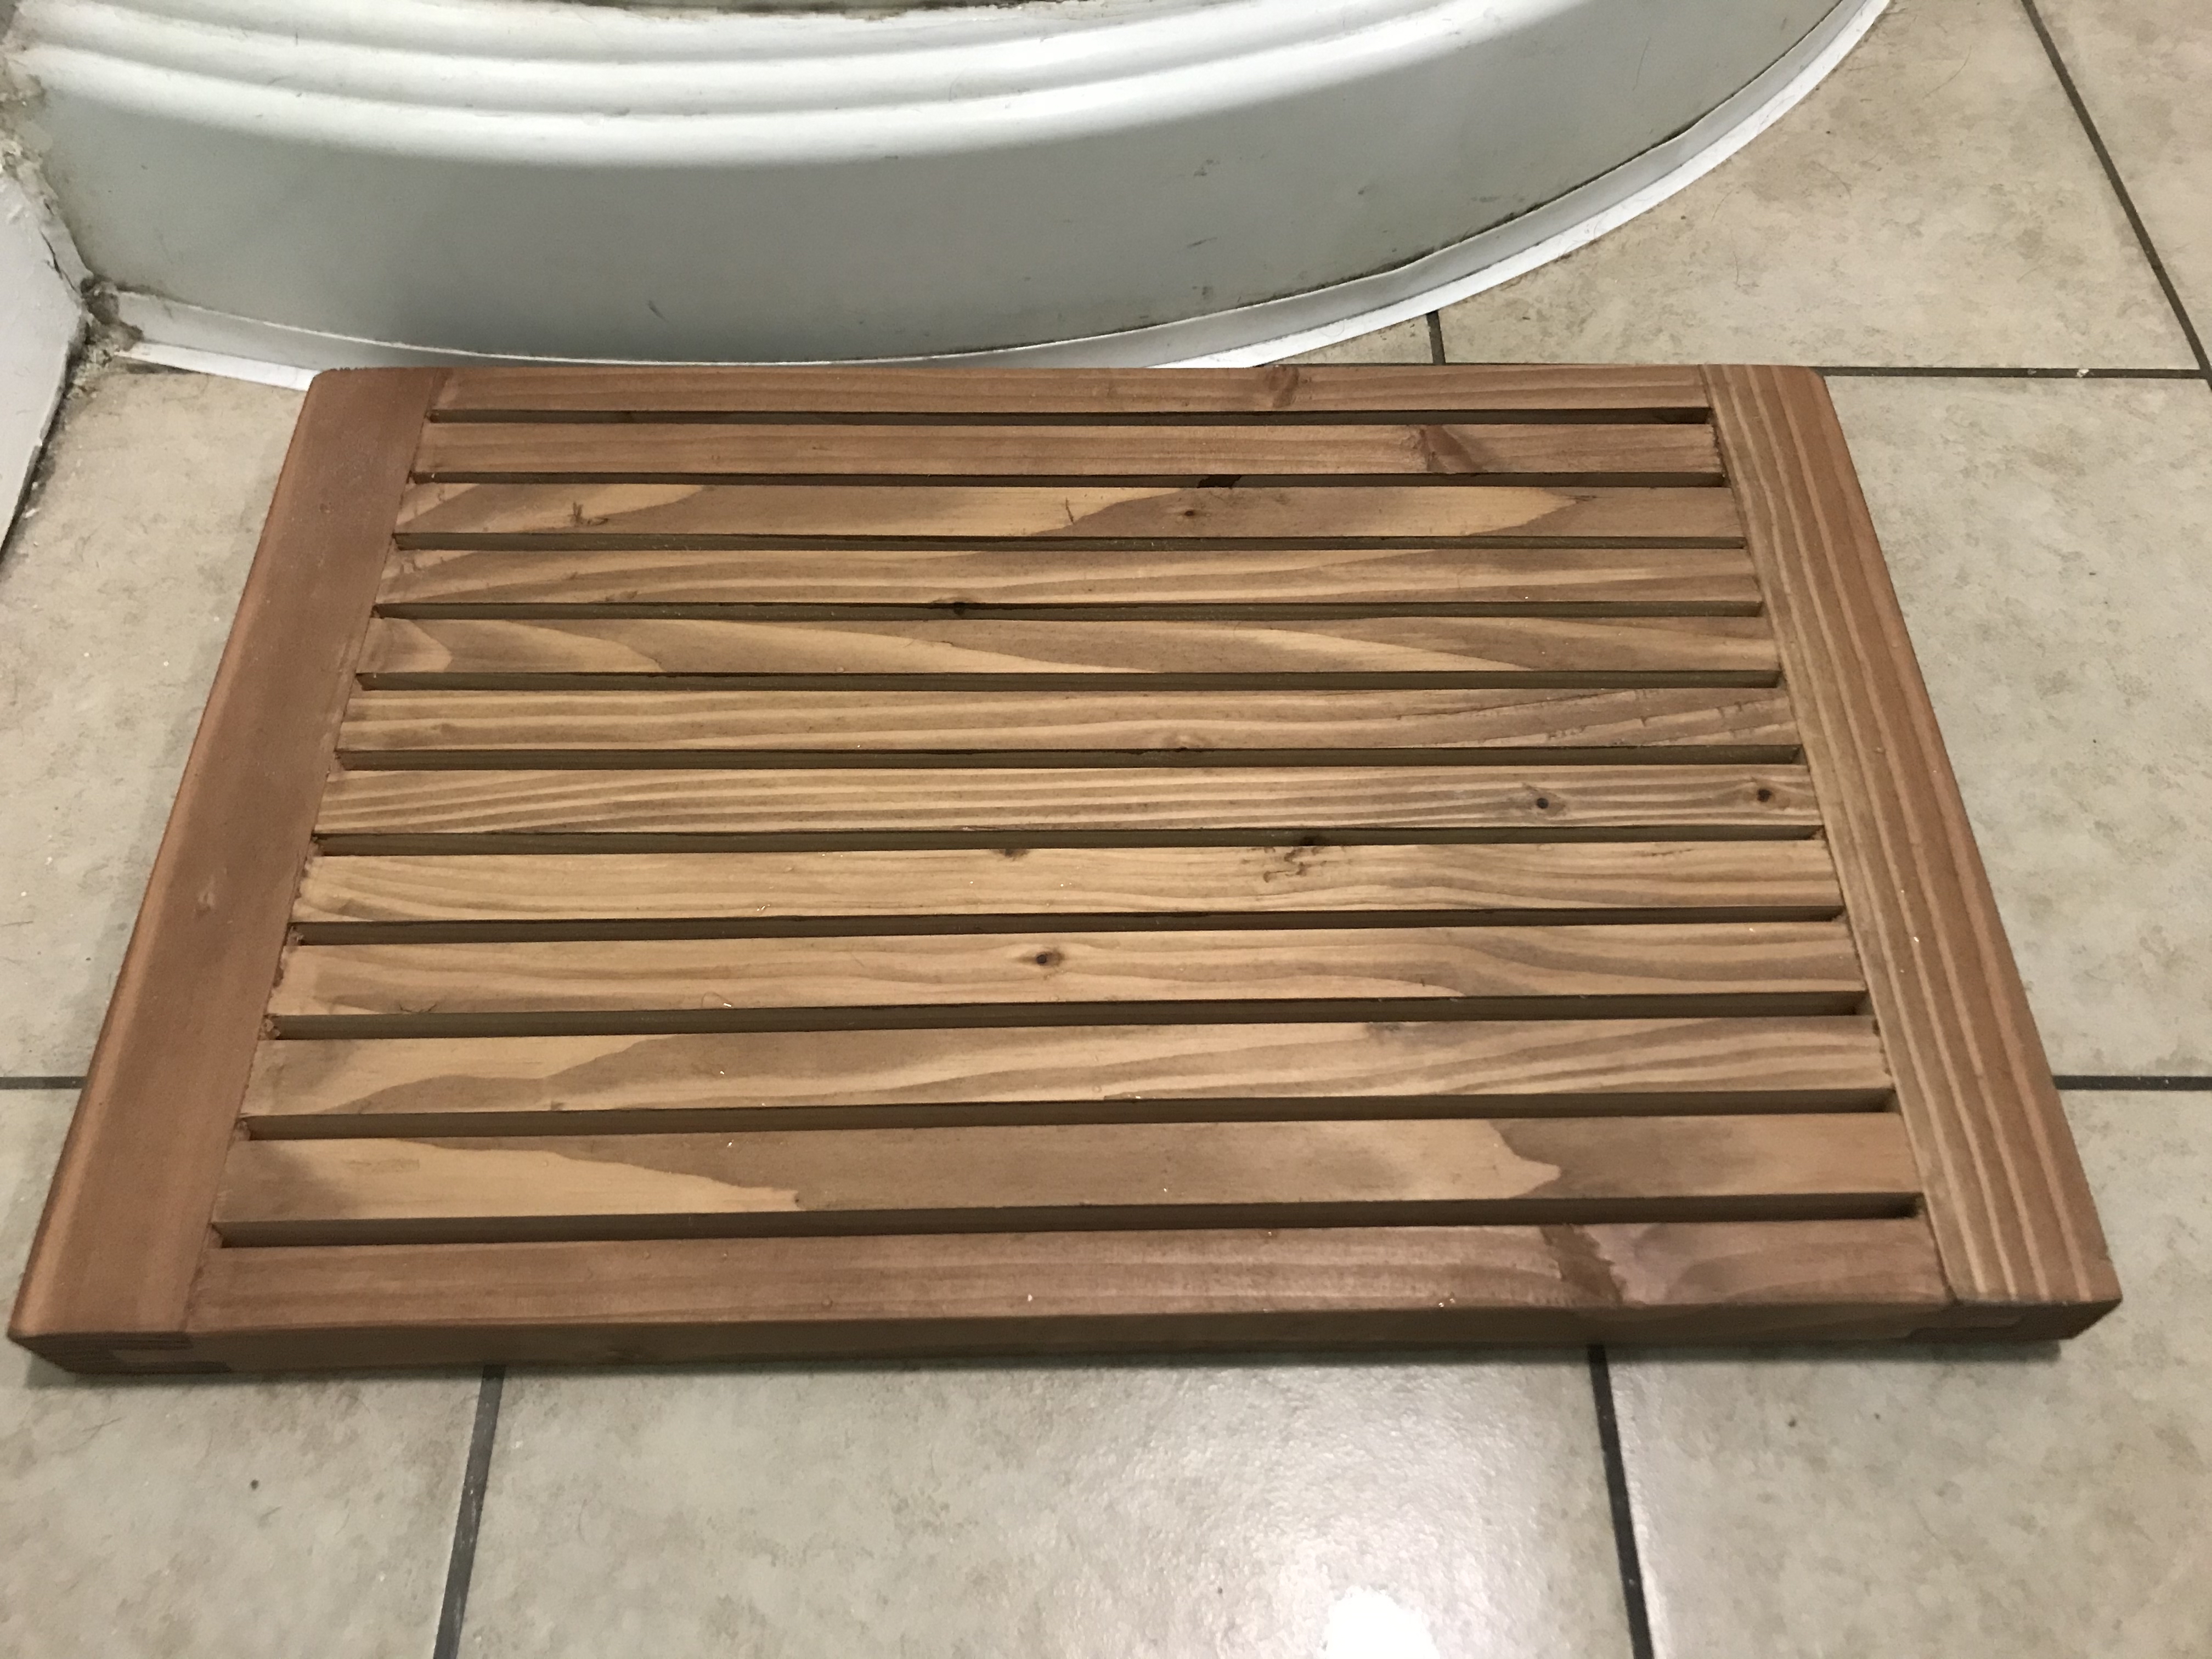
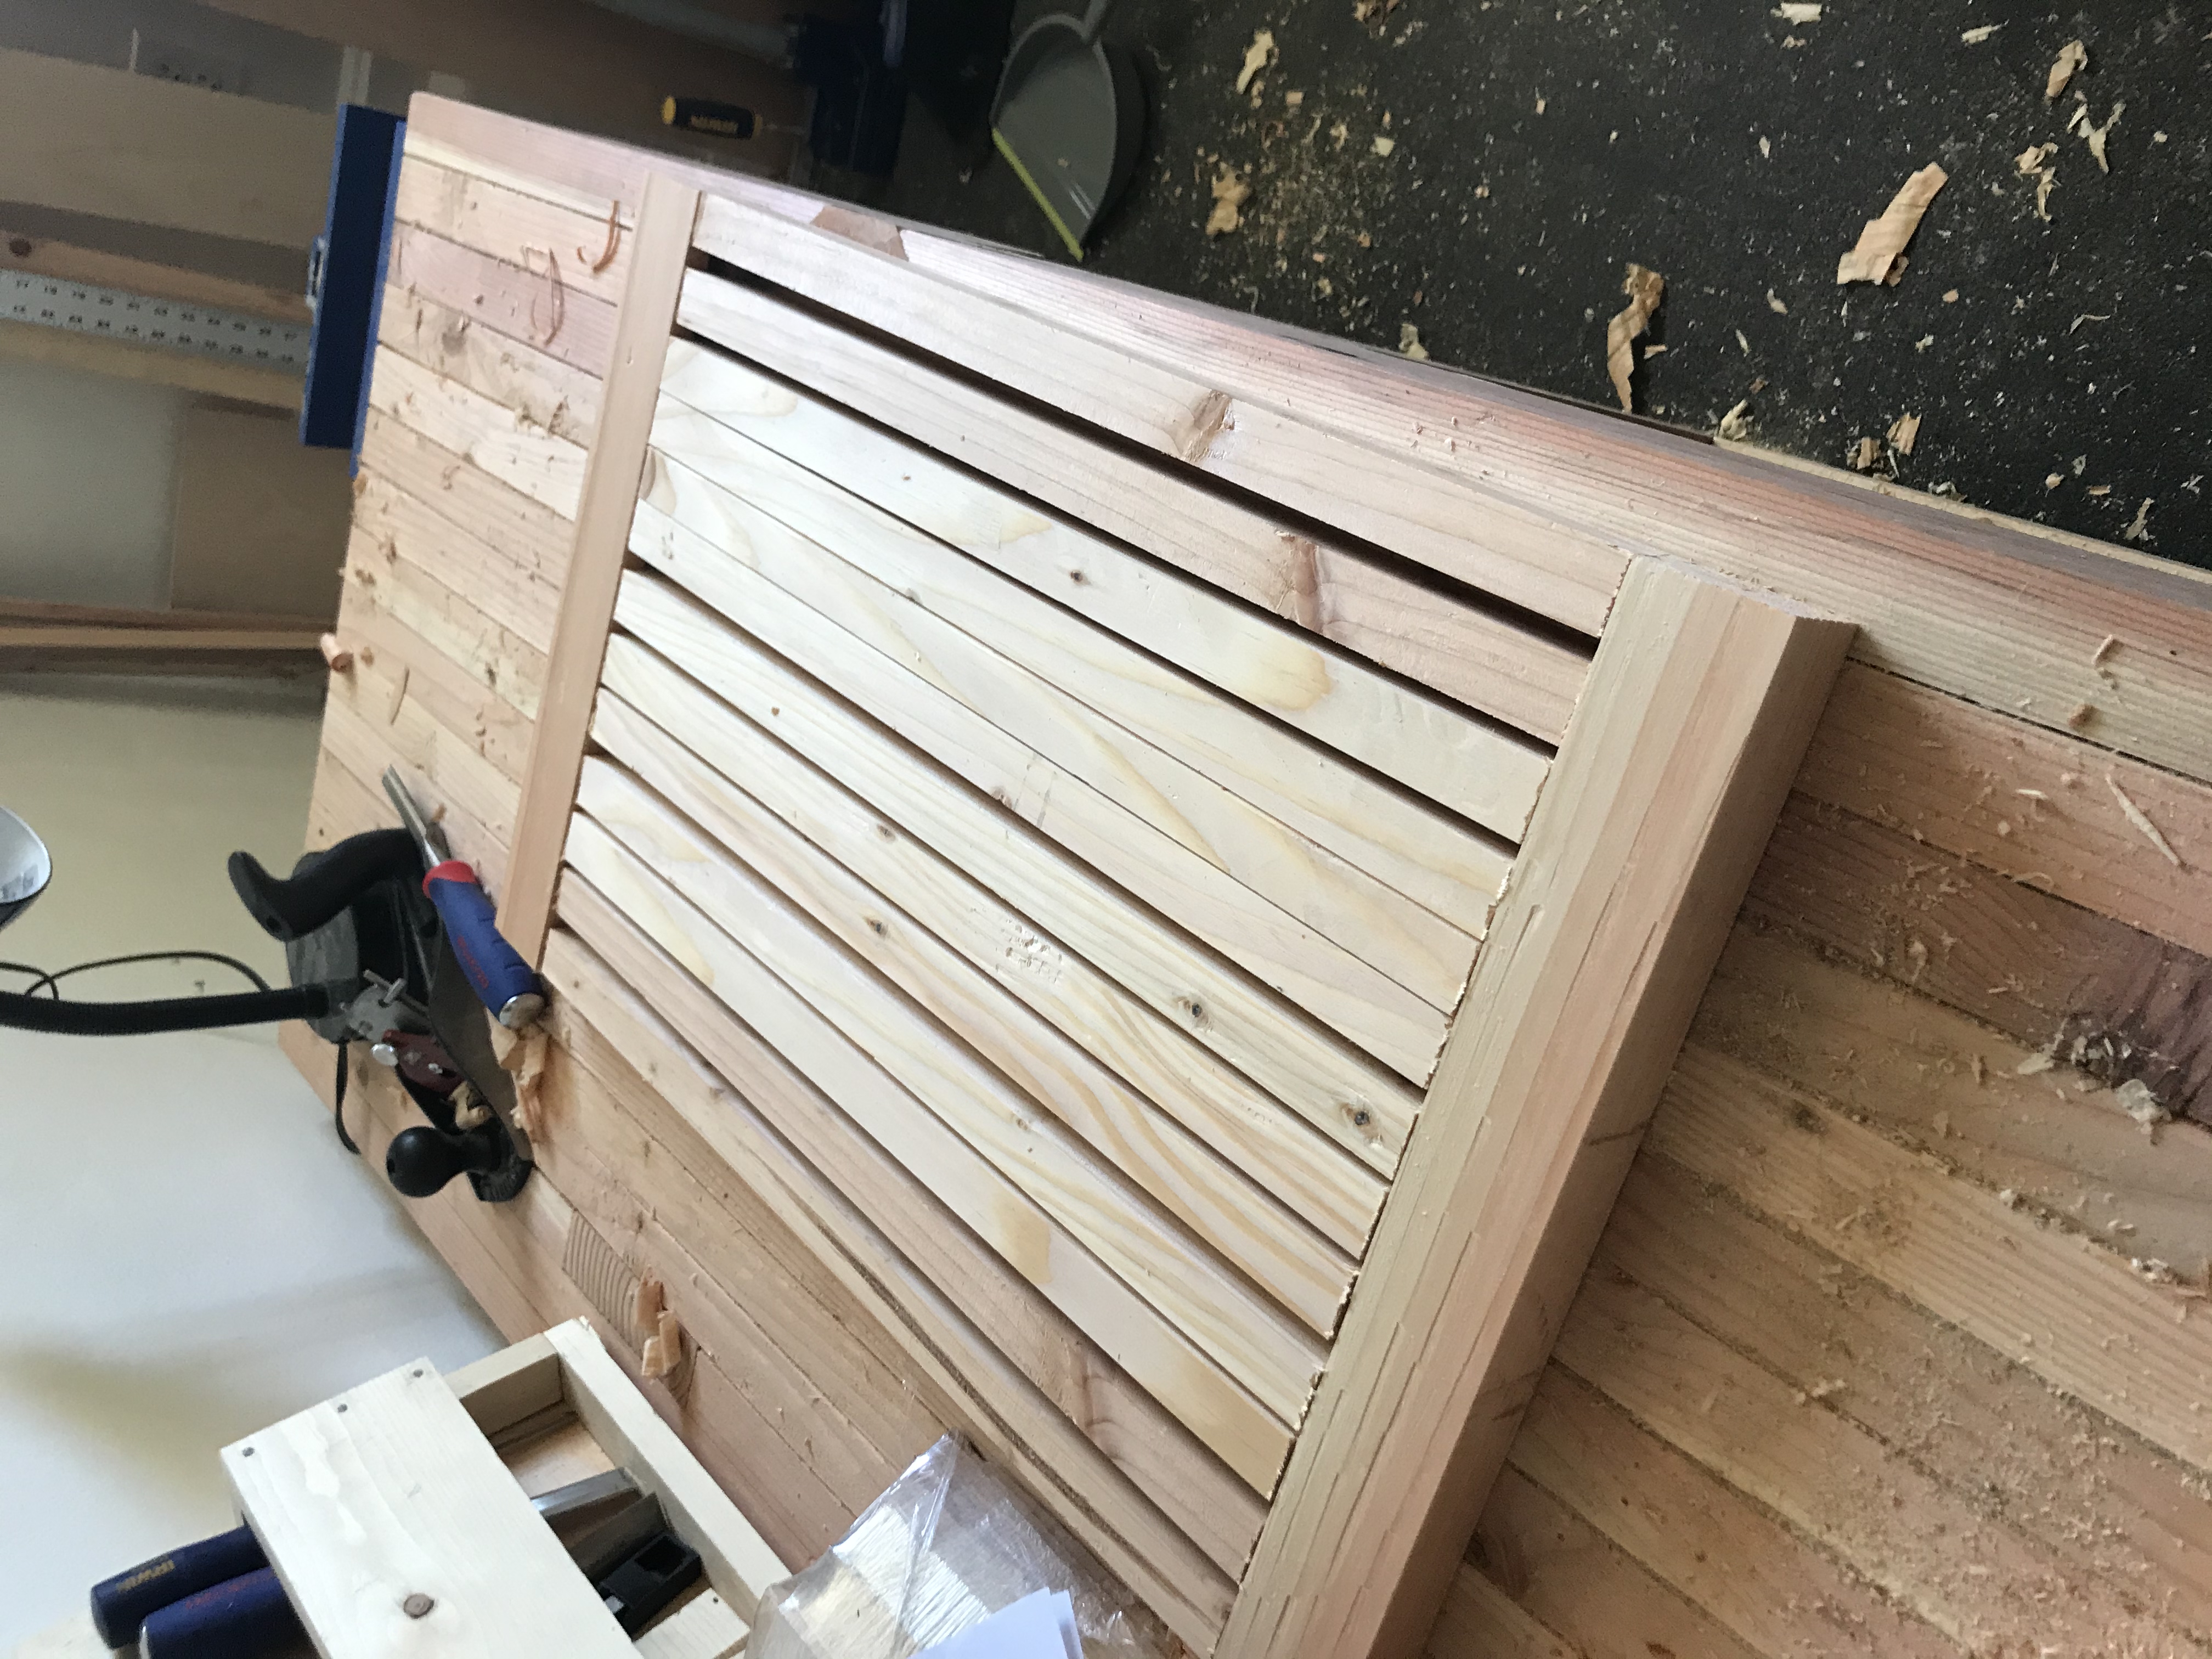
So I decided to go with a pretty simple design for the bathmat based on my requirements. I’d have a number of stretchers in the middle of the mat with two rabbeted pieces at the ends that acted kind of like breadboards. The stretchers would be equally spaced apart: good for both wood movement and drainage. The rabbeted breadboard ends would be wide enough to provide stability.
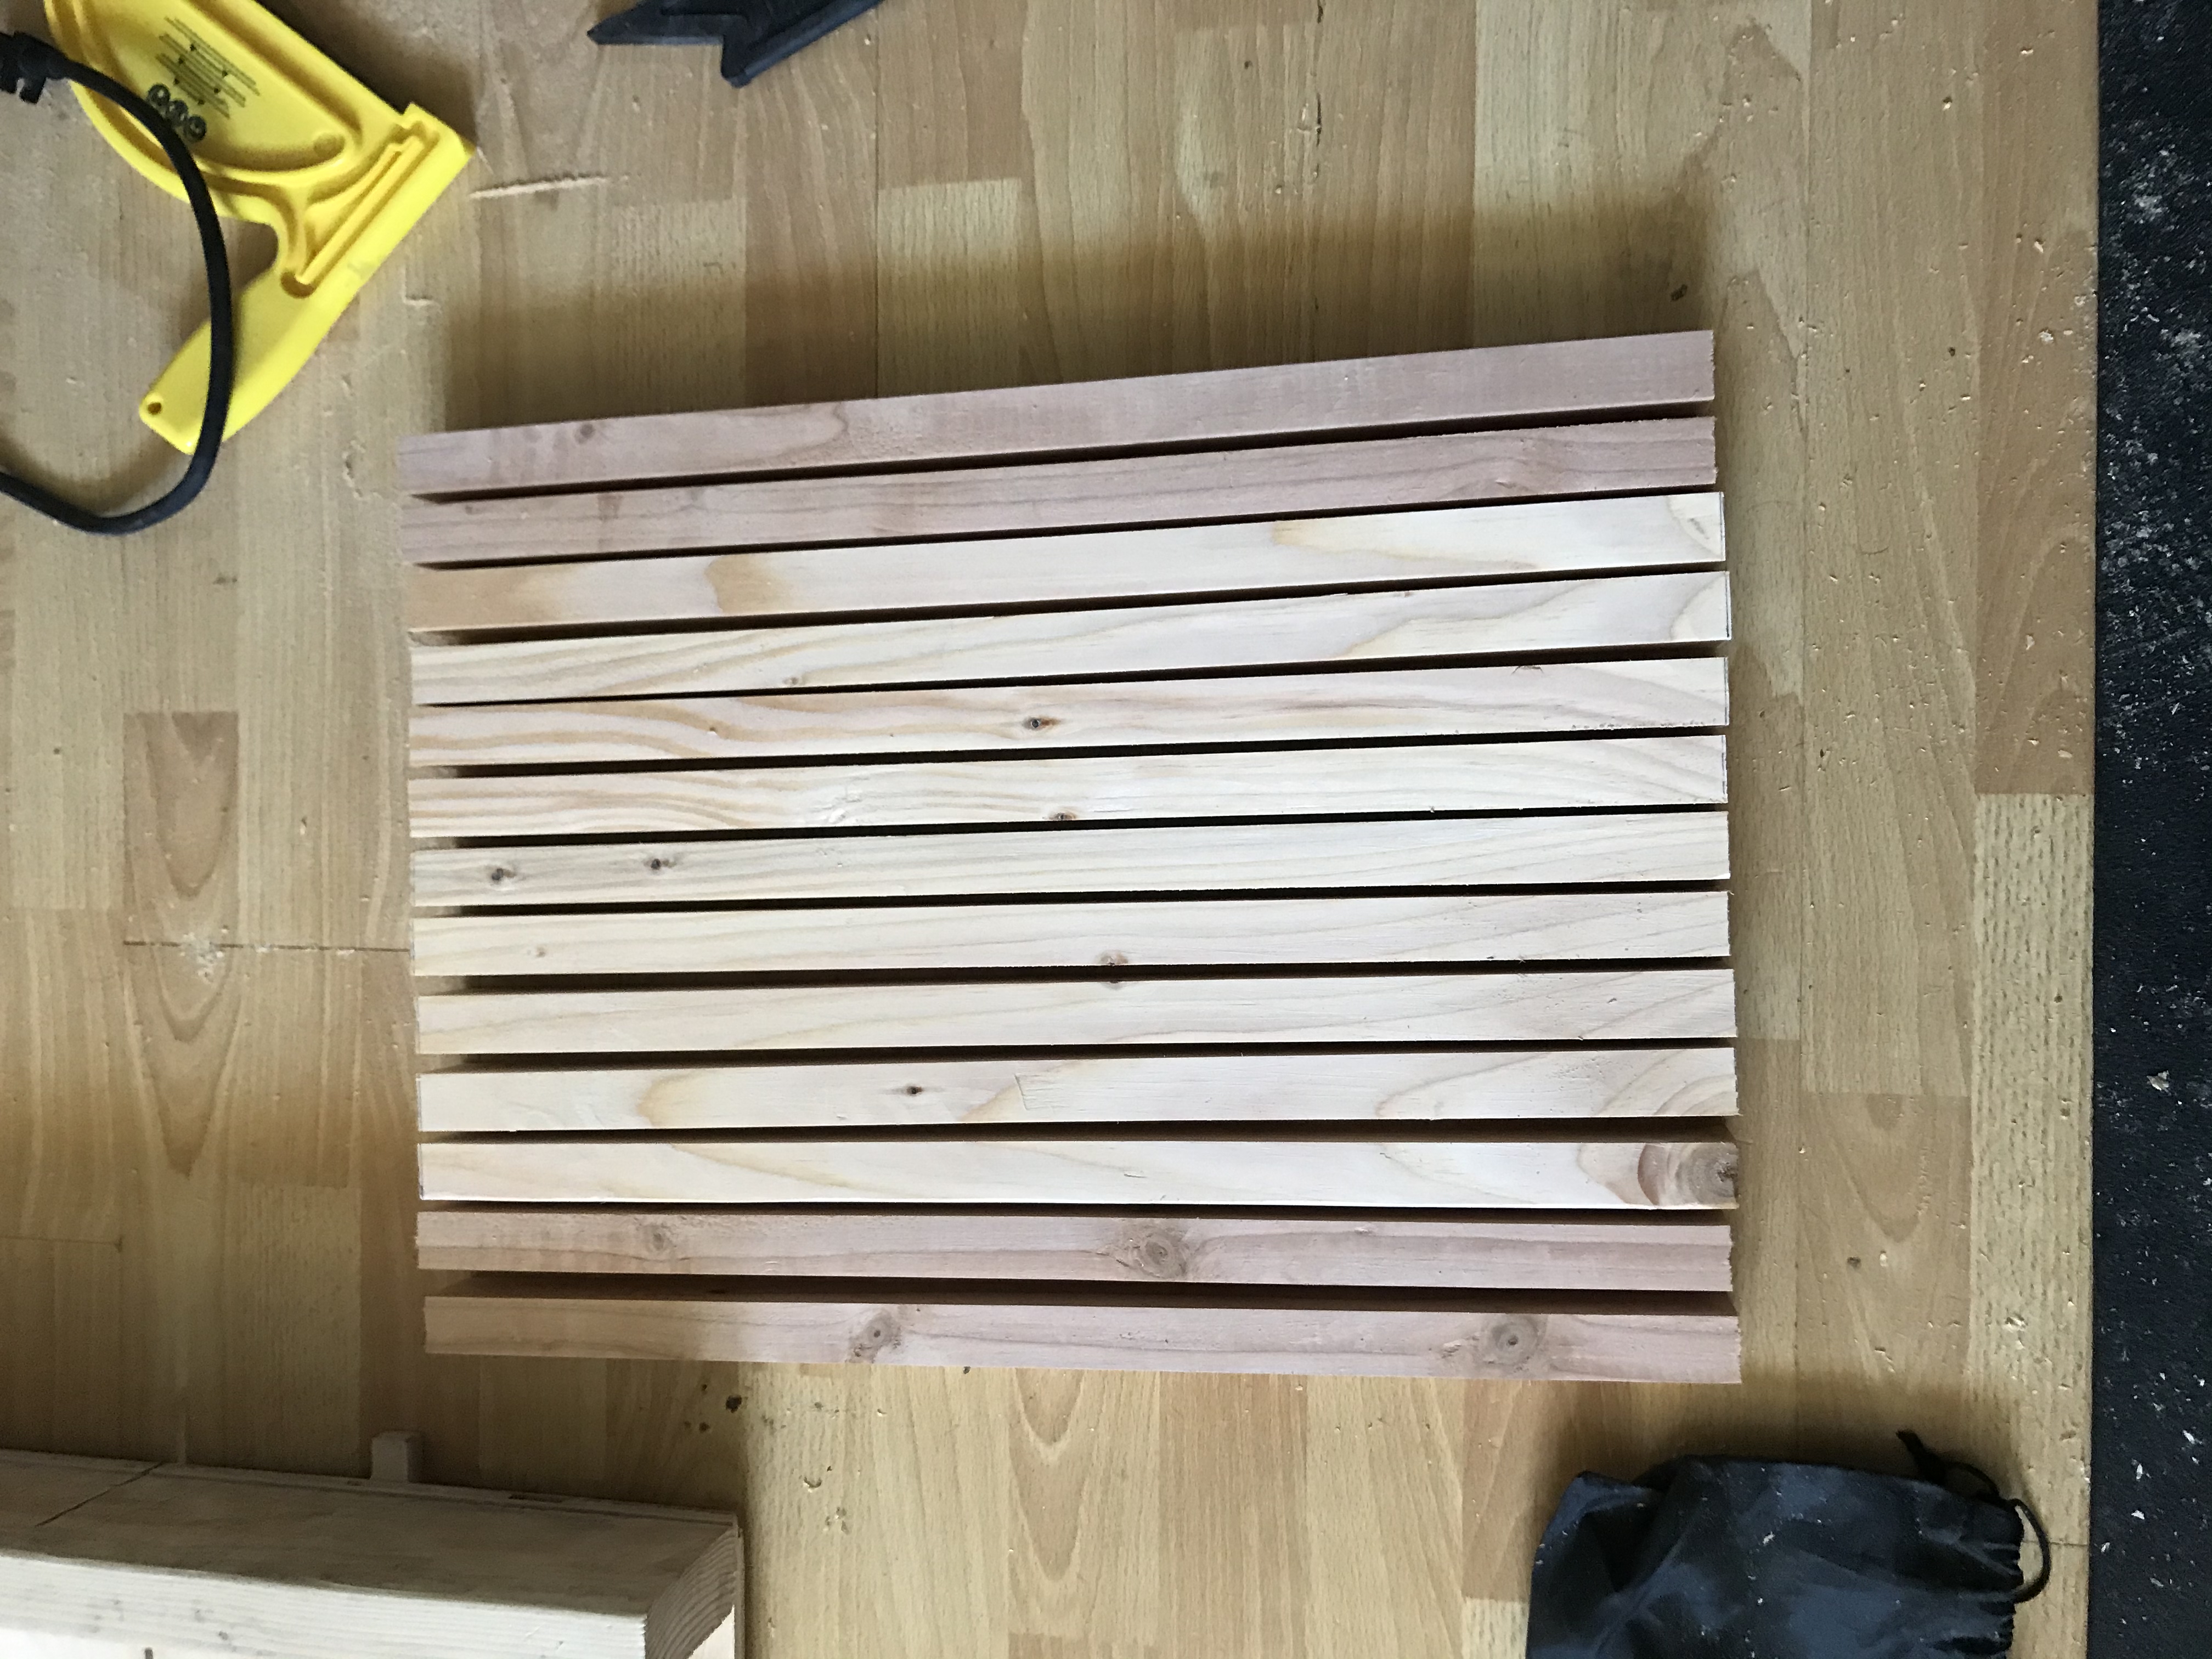
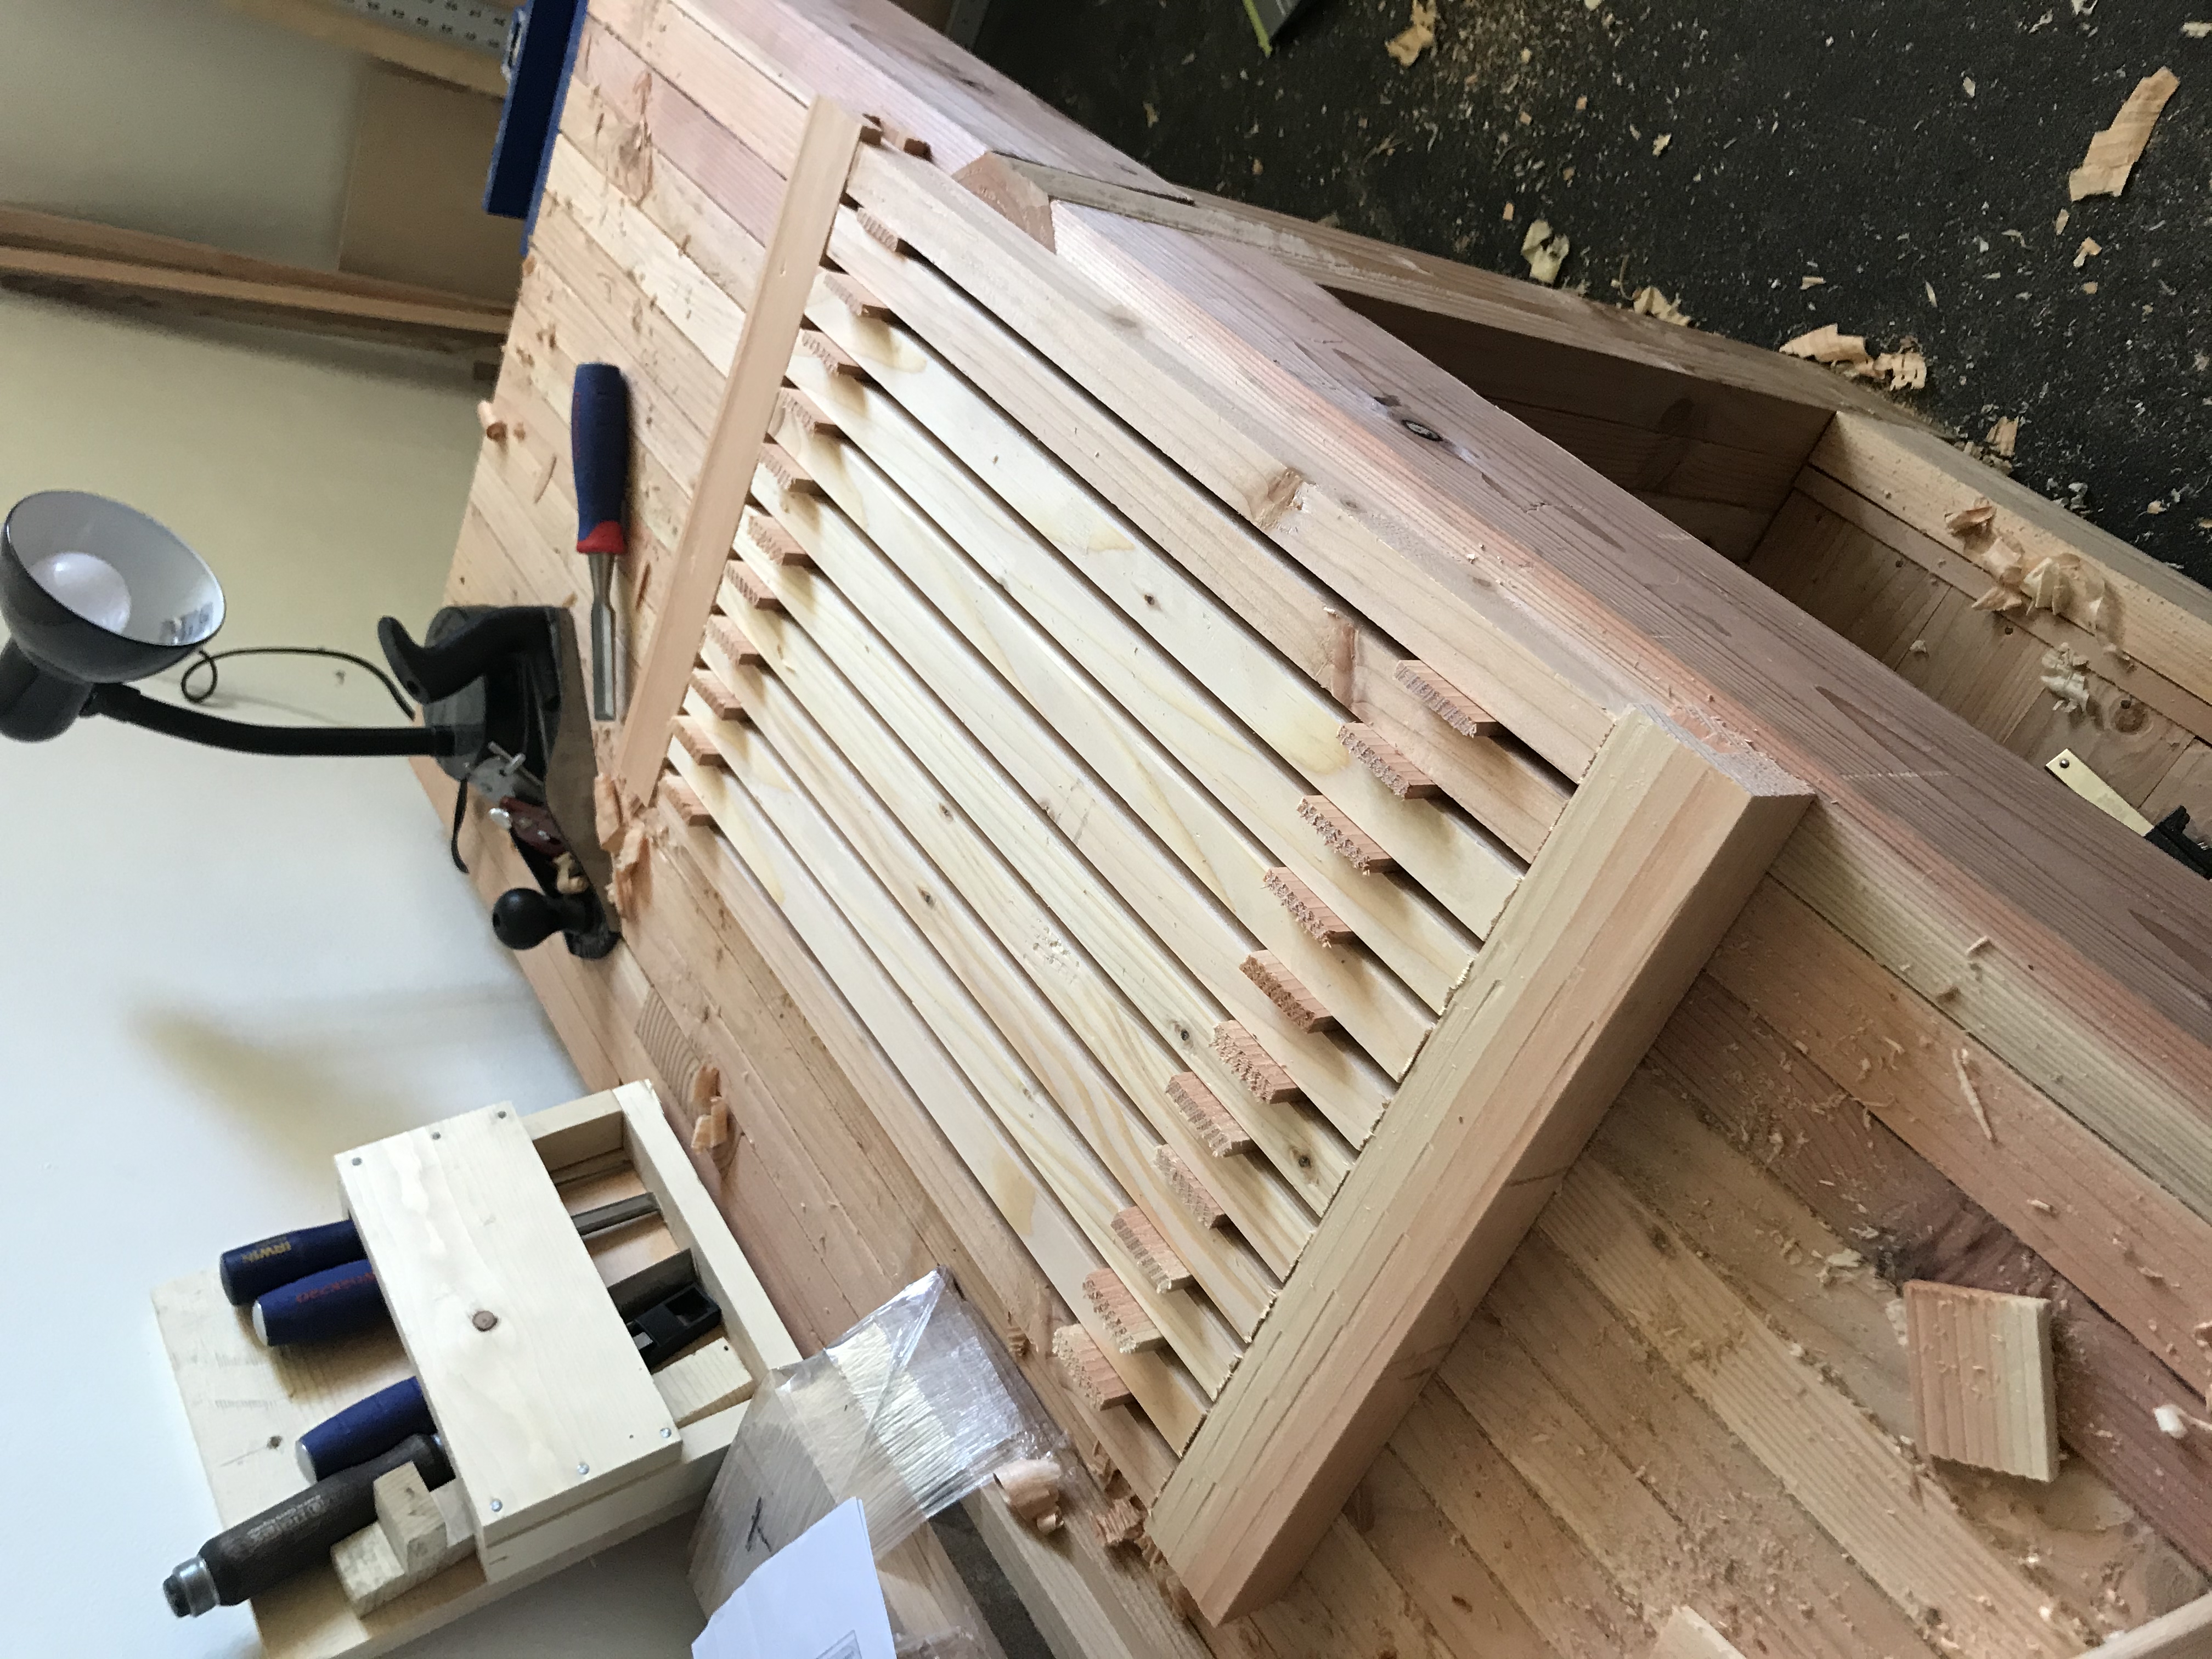
Making this was pretty simple. I cut the stretchers first by milling a bunch of long rectangles, then cutting tenons on the ends with the table saw. It was pretty easy to set up a stop block on my crosscut sled and make a bunch of repeated cuts.
Then for the breadboard ends, I made a couple of rip cuts all the way down the board that were as deep as the tenons on the stretchers were long.
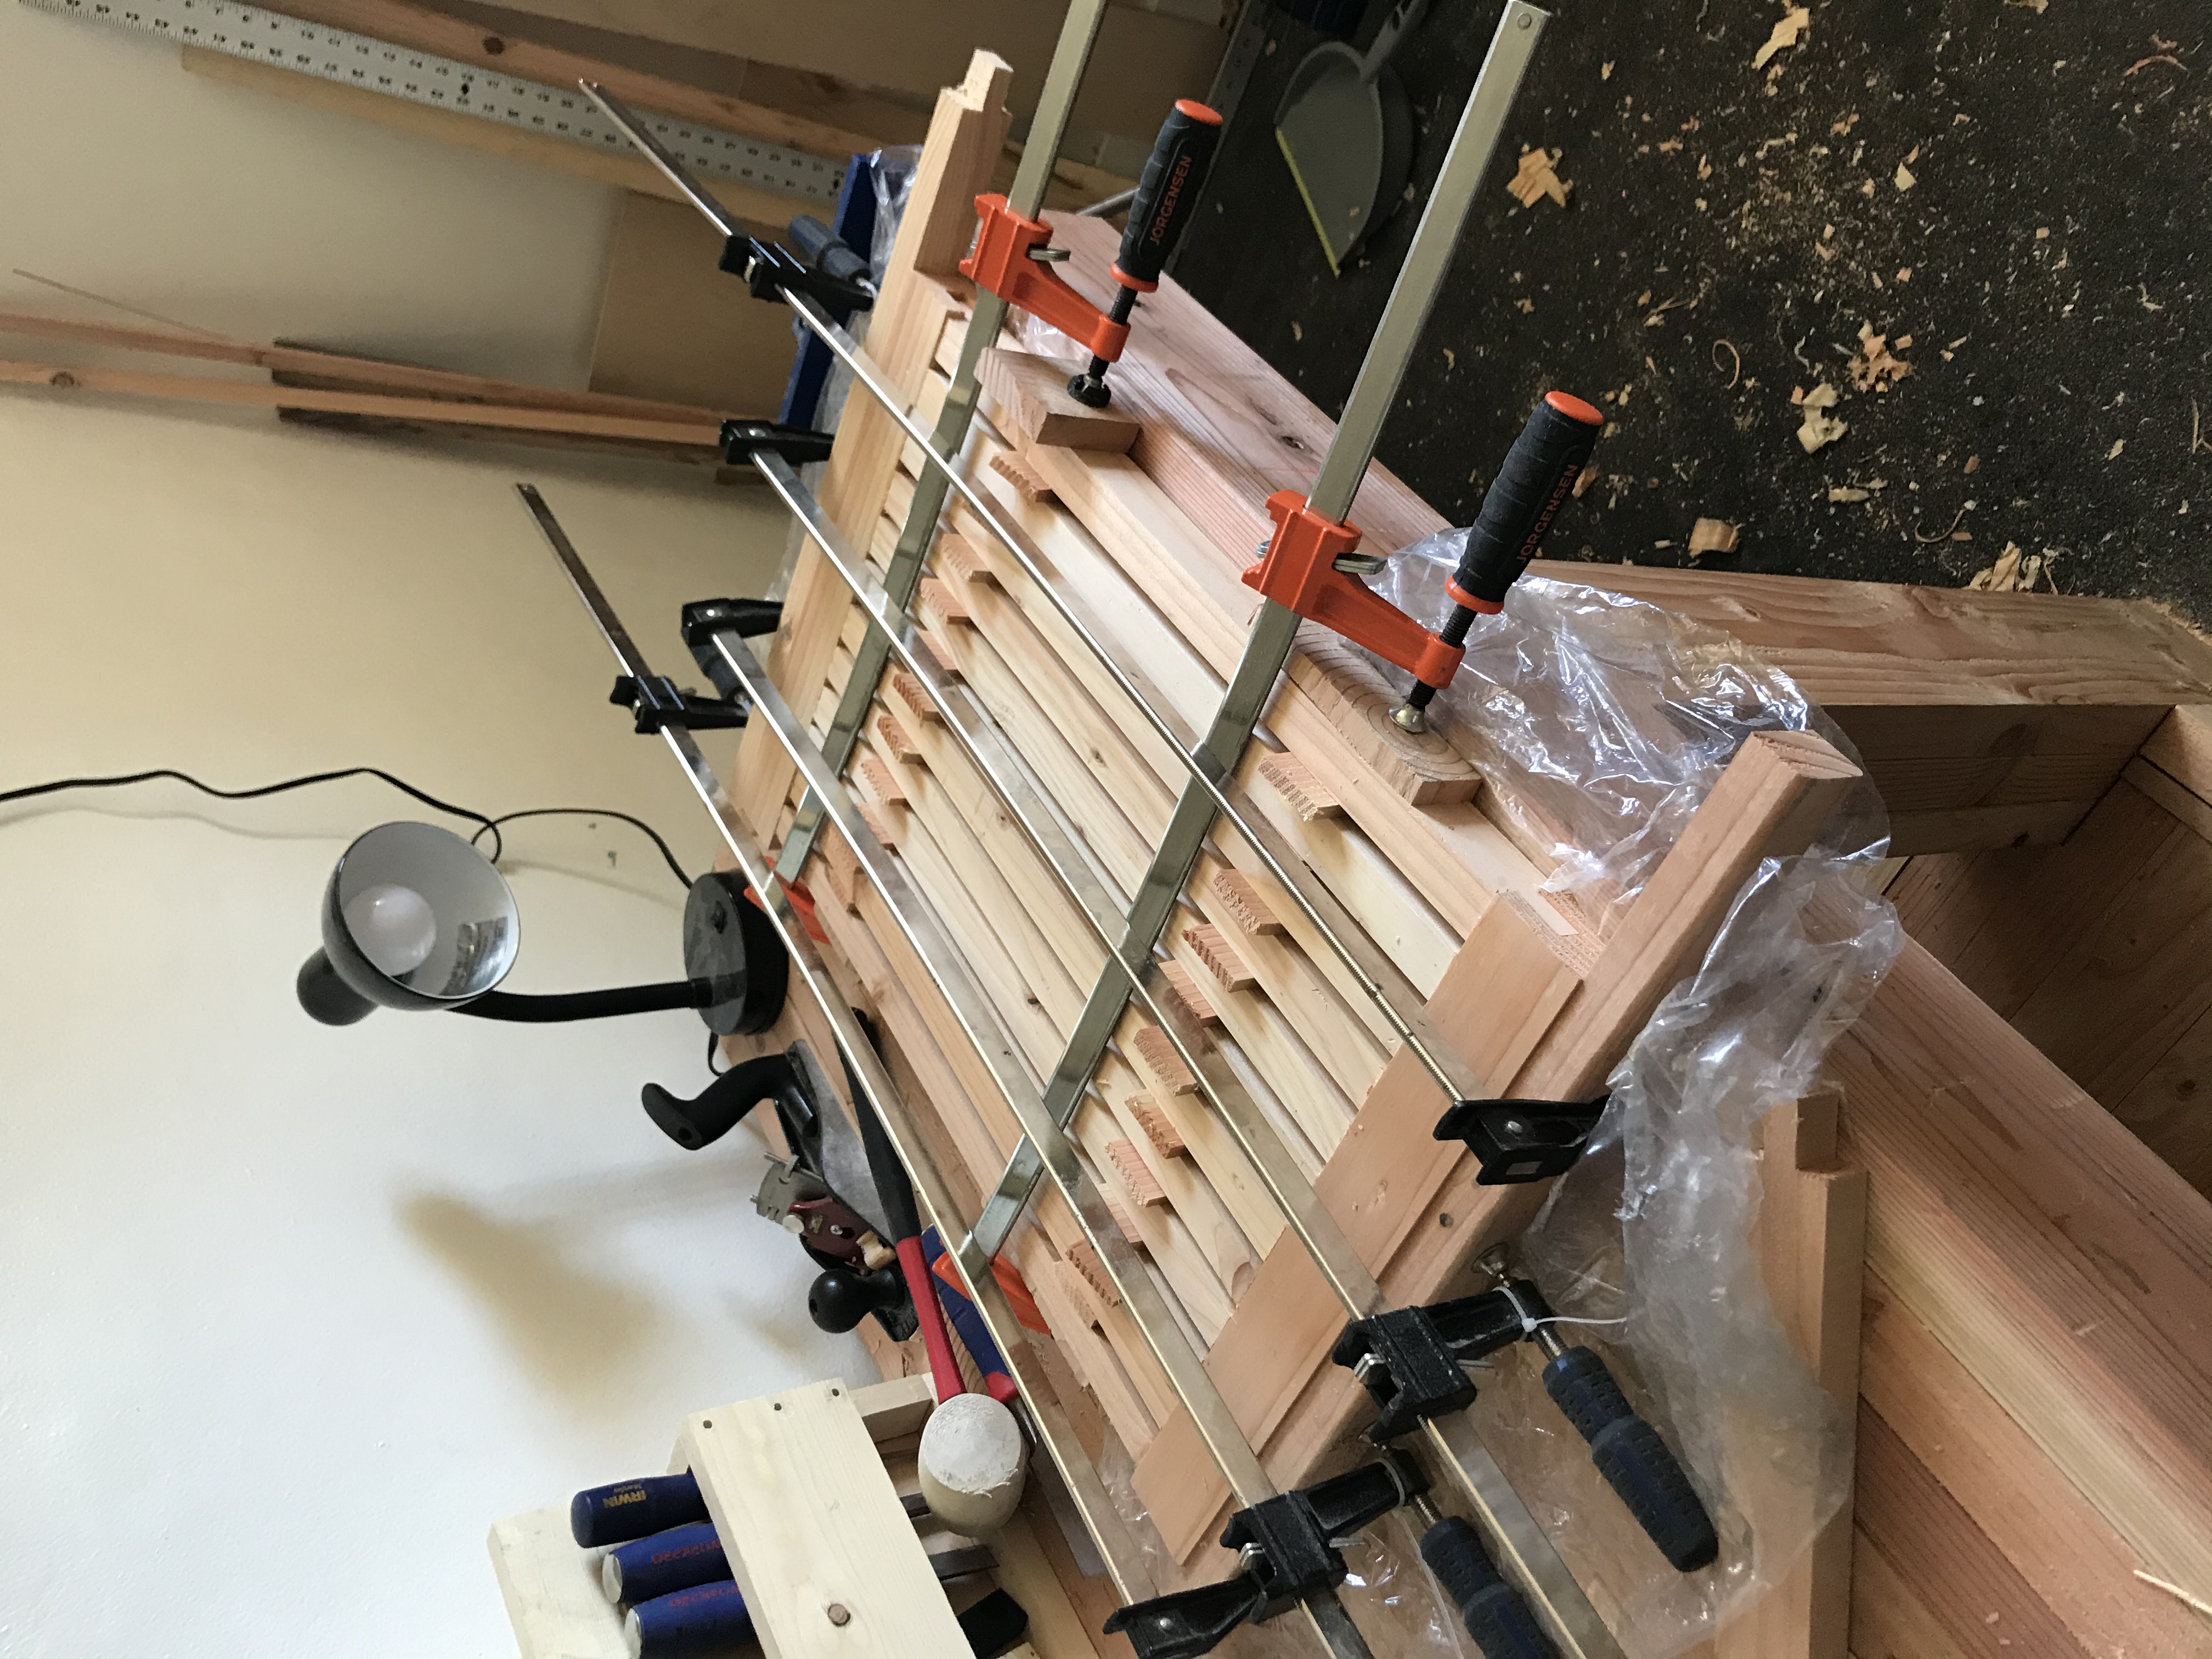
For the glueup, I made a bunch of little wedge spacers to keep the stretchers the same spacing throughout and just added a dab of glue on each tenon.
For finishing, I used Thompson’s Waterseal to ensure the mat would be waterproof.